
It is simply incredible how the Garlyn MR-Pro 20 multicooker impresses at first glance with its bright color pictures, which can be seen in the photographs below. At first we thought it was just a sticker on the screen, but it turns out that the pictures are real. And what they portray, the Garlyn MR-Pro 20 multicooker actually does.
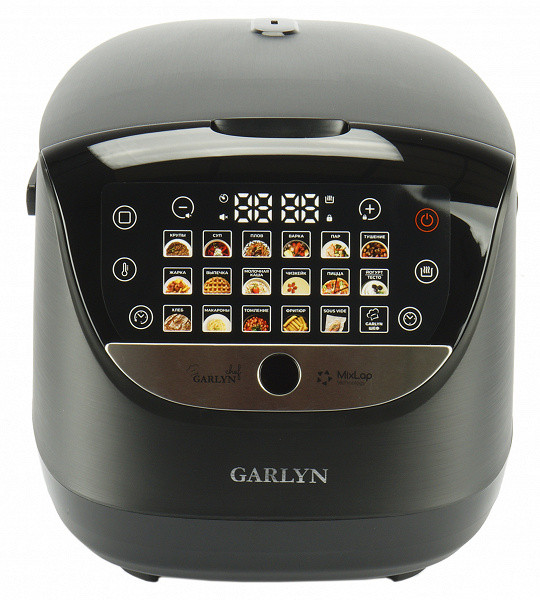
18 automatic programs along with the Garlyn Chef function — and all this in one device, not counting automatic heating, delayed start and a colored button indicating the stage of preparation of the dish.
Characteristics
| Manufacturer | Garlyn |
|---|---|
| Model | MR-Pro 20 |
| Type | multicooker |
| Country of Origin | China |
| Guarantee | standard warranty 1 year |
| Life time * | 3 years |
| Declared power | 930 W |
| Housing material | plastic, metal |
| Bowl volume | 5 l |
| Bowl material | aluminum |
| Non-stick coating | Daikin double-layer non-stick coating |
| Control | electronic, touch |
| Display | LED |
| Protection against electric shock | class I |
| Number of protection levels | 2 |
| Number of automatic programs | 18 |
| Temperature range | 35—180 °C |
| Temperature maintenance (heating) | till 12 o'clock |
| Time setting step | from 1 minute to 15 hours, depending on cooking temperature |
| Reheating food | There is |
| Disabling sound signals and auto-heating | There is |
| Delayed start | There is |
| Additional functions | Garlyn Chief, MixLap technology |
| Accessories | steam container, ladle, measuring cup, silicone spoon, silicone spatula, silicone bowl lid |
| Weight | 4.5 kg |
| Dimensions | 280×350×230 mm |
| Network cable length | 1.5 m |
* Contrary to popular belief, this is not the time limit after which the device will necessarily break down. However, after this period, the manufacturer ceases to bear any responsibility for its performance and has the right to refuse to repair it, even for a fee.
Equipment
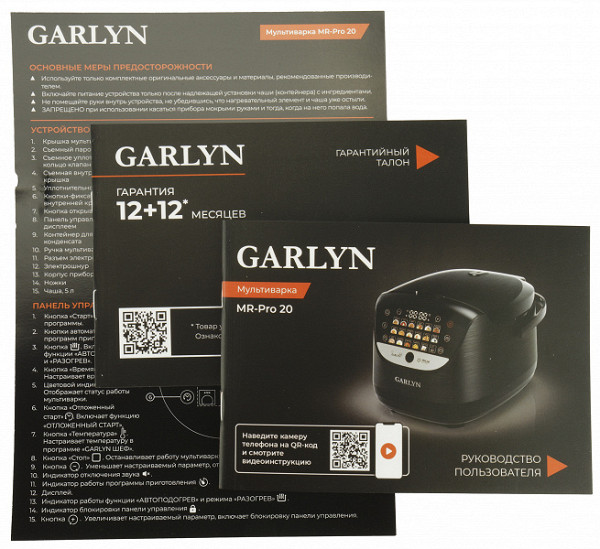
The multicooker is delivered in an elegant Garlyn branded box, decorated with a ribbon, which gives it a special charm. The box is made of durable cardboard and provides reliable fixation of the device thanks to foam inserts inside. The box shows the multicooker itself, as well as its technical characteristics and features. In addition, there is a convenient handle for carrying the box with the multicooker inside.

Opening the box we found:
- multicooker
- cup
- container for steaming
- scoop
- beaker
- flat silicone spoon
- silicone spatula
- silicone lid for the bowl
- electrical cord
- user manual, instructions and warranty card.
At first sight
The multicooker has a standard design for such devices, with streamlined shapes and an attractive appearance. The body is made of black heat-resistant plastic. But the peculiarity lies in the control panel. At first glance, it blends in color with the body, but after pressing the “Start” button, bright colored program selection buttons appear on the screen, identical to those on the sticker. This gives the device additional attractiveness and enlivens the design.

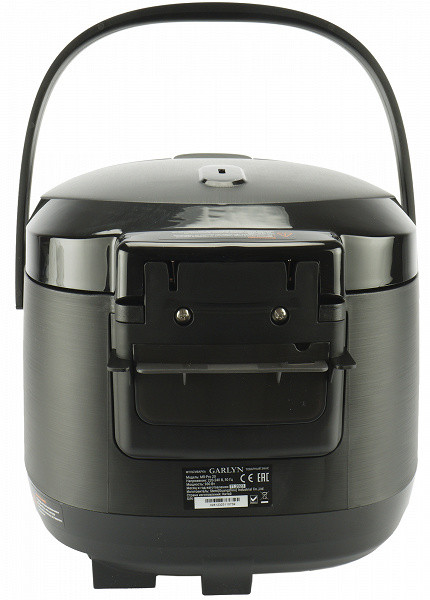
The multicooker is equipped with a handle for carrying the device. On the back of the case there is a nameplate with information about the manufacturer and a container for collecting condensate.
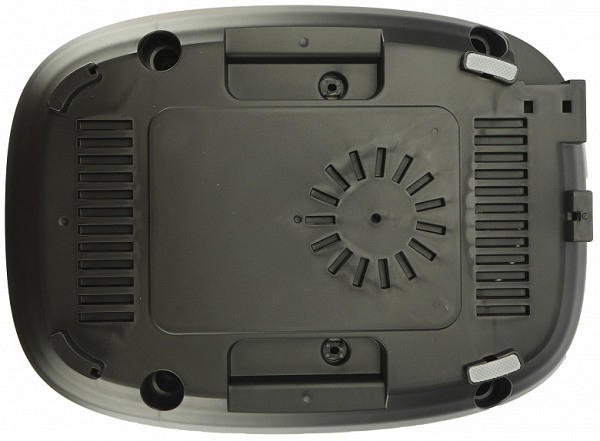
The bottom panel of the case is equipped with two rubber feet, which prevent the device from sliding on the table surface, and the device with the lid folded down is located stably on the table without losing balance.
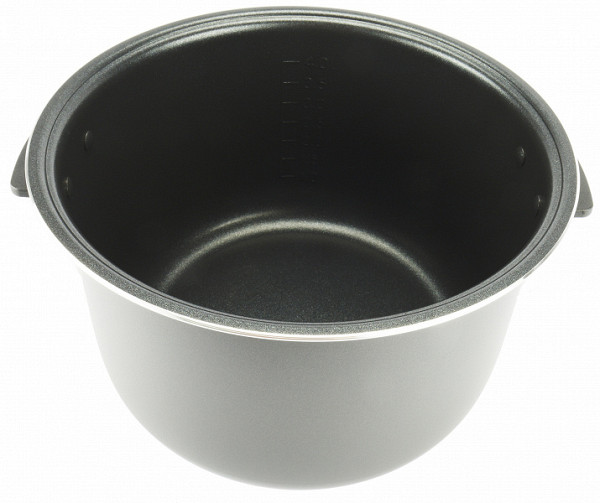
Having opened the lid of the device, we saw a multicooker bowl equipped with two handles, which make it convenient to remove it from the body.
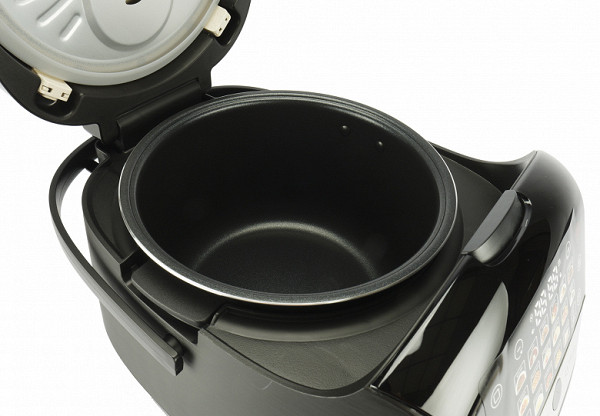
Under the bowl there is a heating element standard for a multicooker.
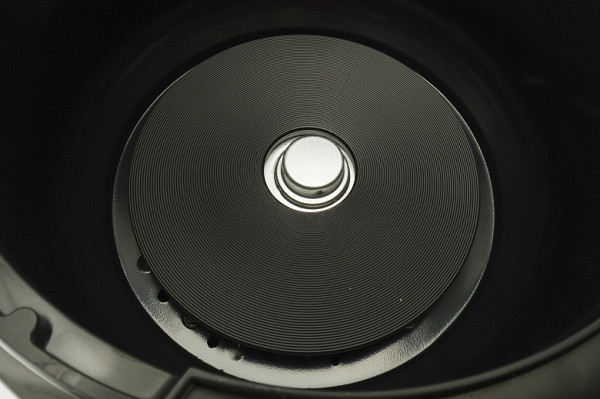
The 5 liter bowl is equipped with a Daikin non-stick coating, which has already proven itself well.
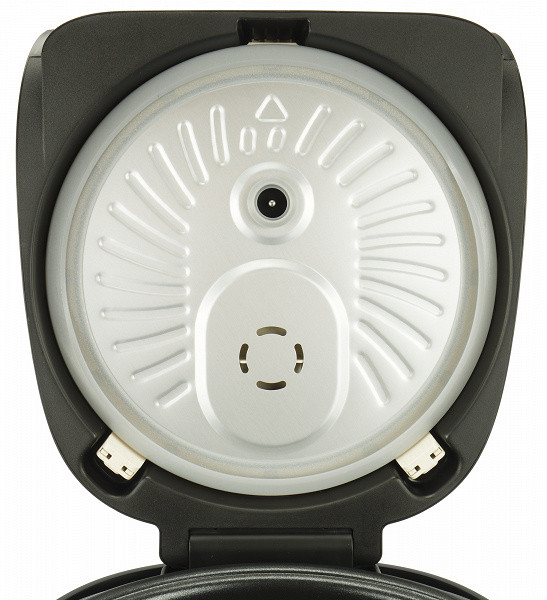
The lid has a removable inner lid with an O-ring seal, and underneath the lid is a removable steam valve.
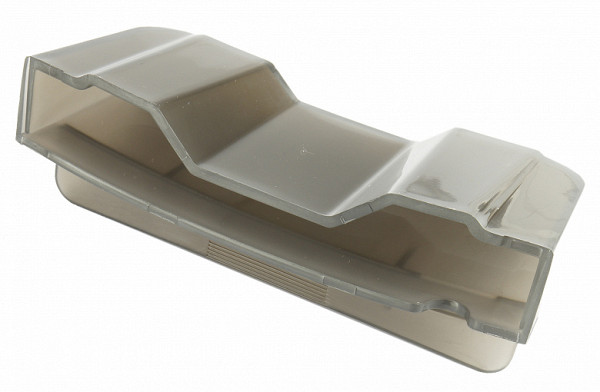
On the back of the case there is a container for collecting condensate.
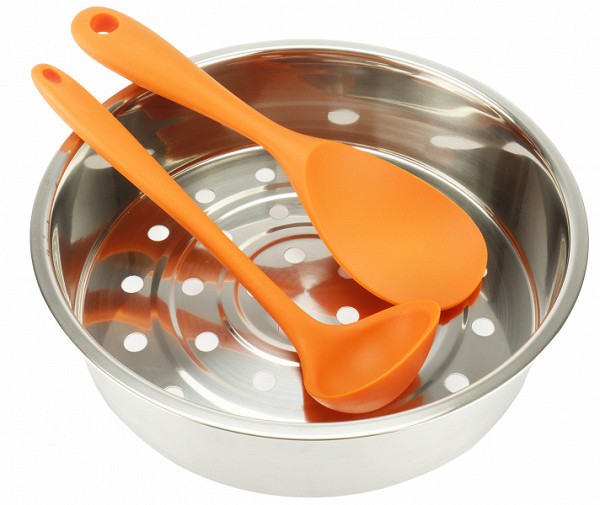
The multicooker is also equipped with a container for steaming, but the most visually beautiful thing is, of course, the bright orange accessories: a silicone spoon and ladle,
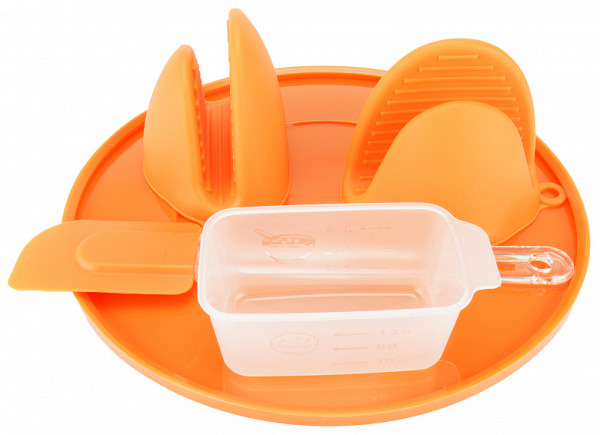
In addition, the kit includes silicone oven mitts, a lid for the multicooker bowl and a silicone spatula. The measuring cup is made of clear plastic, although its appearance is not as attractive as those beautiful orange accessories.
Instructions
The instruction manual is presented in brochure format on high quality glossy A6 paper containing 50 pages. The information in the document is available in Russian. In addition to the standard sections on operating and caring for the multicooker, the user can find detailed information on how to turn off sound signals, set cooking times, use automatic programs and change their time and temperature parameters. The manual also provides a summary table of cooking programs with factory settings, recommendations for preparing various dishes, tips for caring for the appliance, and much more.
Control
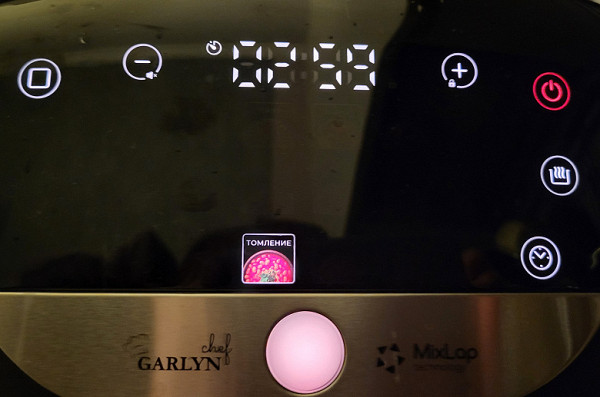
An illuminated “Start” button appears on the control panel of the multicooker, and four dashes are displayed on the display. After pressing the «Start» button, automatic cooking programs appear on the screen in the form of colorful pictures, accompanied by the names of the corresponding programs.
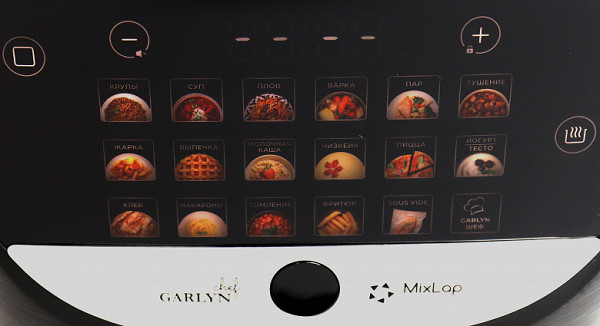
There are 18 automatic programs available in the multicooker:
- Cereals
- Soup
- Pilaf
- Cooking
- Steam
- Braising
- Frying
- Baking
- Milk porridge
- Cheesecake
- Pizza
- Yogurt/dough
- Bread
- Pasta
- Longing
- Deep frying
- Sous Vide
- Garlyn Chief
The «Stop» button (located to the left of the automatic program icons) can cancel the selected program or stop the cooking process.
If desired, you can change the cooking time in the automatic program using the «Time» button (to the right of the automatic program icons), and when selecting the Garlyn Chef program, you can also change the cooking temperature using the «Temperature» button (to the left of the icons). These settings are adjusted using the “+” and “–” buttons above the corresponding icons.
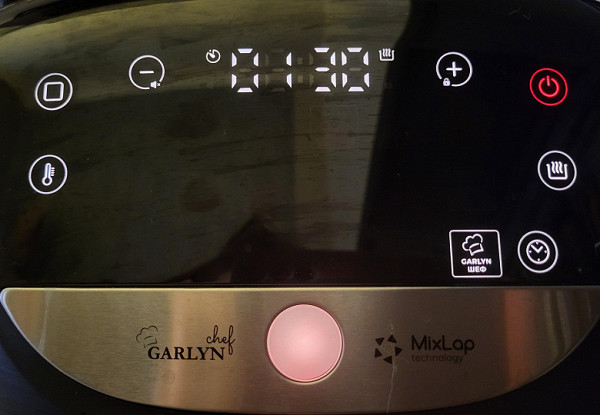
Garlyn Chef allows you to make changes to time and temperature while cooking.
Once the automatic program is activated, the display begins to show a countdown until the end of cooking. In some programs, the countdown begins only after the set temperature has been reached or the water in the bowl has boiled.
The button depicting a pan with steam (to the right of the icons) is used to activate/deactivate auto-heating and the program for heating ready meals. To activate the last program, you must hold this button for several seconds. When 70°C is reached, heating will turn off and the multicooker will switch to auto-heating mode.
The button with a clock and an arrow (to the left of the program icons) is designed to enable delayed start.
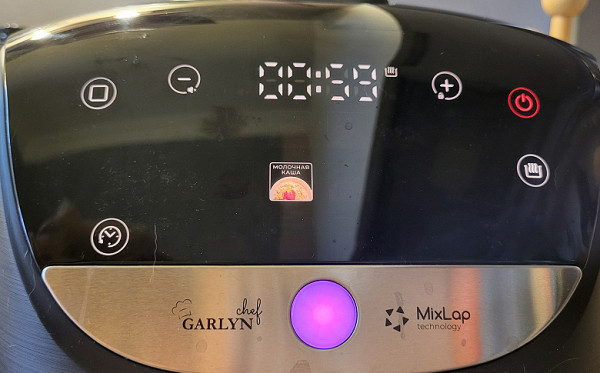
The large button at the bottom of the control panel is a color indicator:
- Red color indicates heating mode;
- Orange color indicates that one of the automatic programs is enabled;
- The green color lights up when the program is completed;
- Blue color indicates the auto-heating process;
- Purple color: blinking — the process of setting up a delayed start; constant burning — delayed start of the cooking program is enabled.
Exploitation
Before first use, it is recommended to wipe the device body with a damp cloth and wash the components that come into contact with food.
Operating the device is simple and intuitive, since each automatic program button has a program name.
Sound signals can be turned off if necessary, and the control panel can be locked.
The use of automatic programs and the Garlyn Chef function did not raise any questions. The delay start function works flawlessly, and the keep warm function also performs its functions well.
The visual component of the MixLap function looks especially attractive, implemented in the form of a backlit button.
Care
Caring for a multicooker does not require complex procedures. The outer surface can be wiped with a soft damp cloth or sponge. Parts of the device are not recommended to be washed in the dishwasher, but accessories can be washed by hand using a mild detergent and dried at room temperature. We did not use the multicooker bowl in the dishwasher, as food residues were easily removed thanks to the non-stick coating.
It is necessary to regularly clean the inner lid of the multicooker using a damp cloth or sponge. The removable steam valve and condensate container should also be cleaned after each use.
Our measurements
The maximum power recorded by the wattmeter during operation of the multicooker was 933 W.
Practice tests
Sour cabbage soup (automatic “Soup” program)
First of all, we decided to try out the “Soup” program and prepare sour cabbage soup.
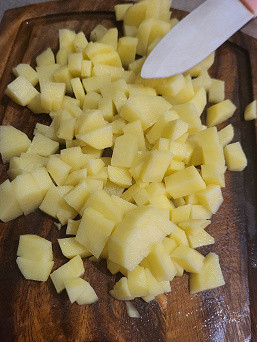
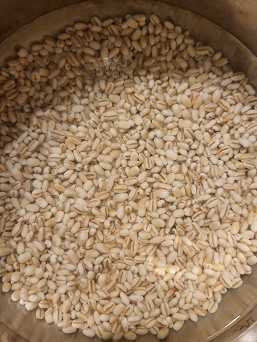
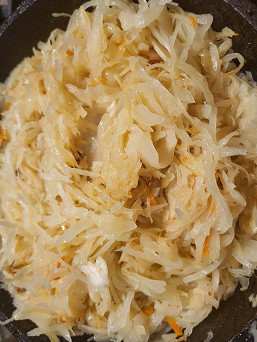
We started by soaking the pearl barley, and then cooked it on the “Soup” mode in the slow cooker. While the pearl barley was cooking, we prepared the cabbage (for convenience, we used a frying pan) and prepared the potatoes by peeling and cutting them.
They threw chicken, pearl barley and potatoes into the multicooker, turned on the “Soup” program, waited until the potatoes were cooked, and then added the stewed cabbage. And an hour later we got beautiful sour cabbage soup...
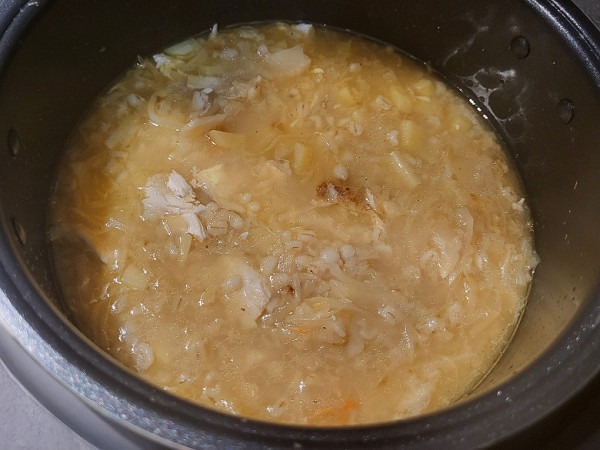
...which they ate almost immediately.
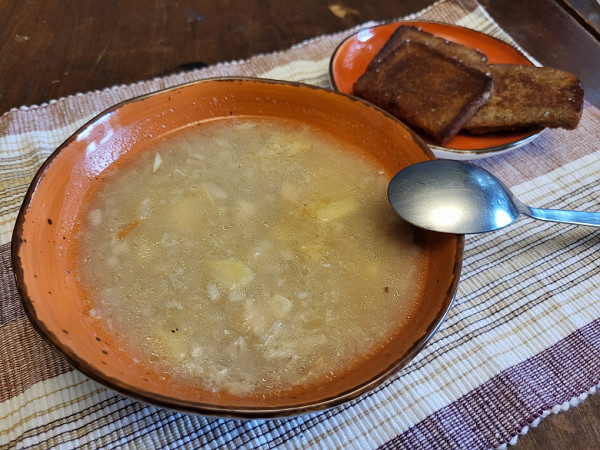
Result: excellent
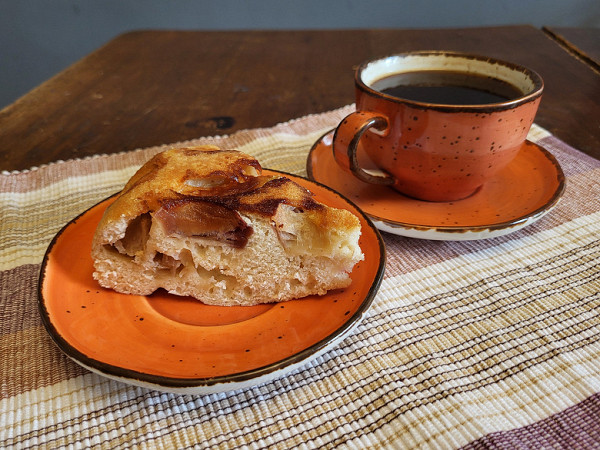
Charlotte (automatic “Baking” program)
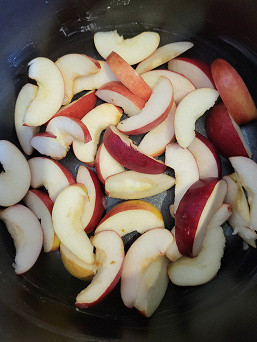
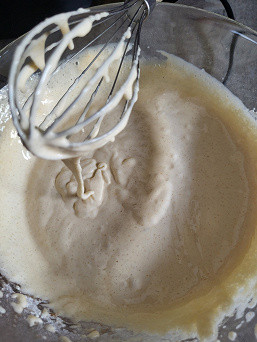
Our next step was to bake charlotte. The recipe for this dessert is well known to us since childhood thanks to our grandmother: a glass of flour, a glass of sugar and three eggs — mix everything thoroughly.
We followed this recipe exactly, and also cut up some apples (so as not to overdo it, because too many apples can interfere with baking), then carefully distributed them into the multicooker bowl and added the dough.
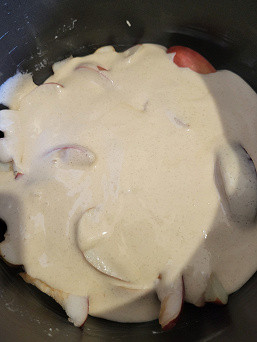
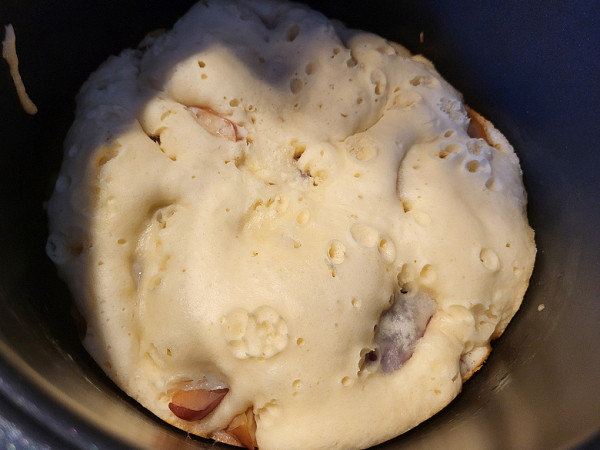
We selected the Bake program and set the duration to 1 hour, which caused some anxiety. However, after checking the instructions and setting the temperature to 120 °C, we calmed down. In a regular oven, we probably would have set the temperature higher, but decided to trust the default settings.
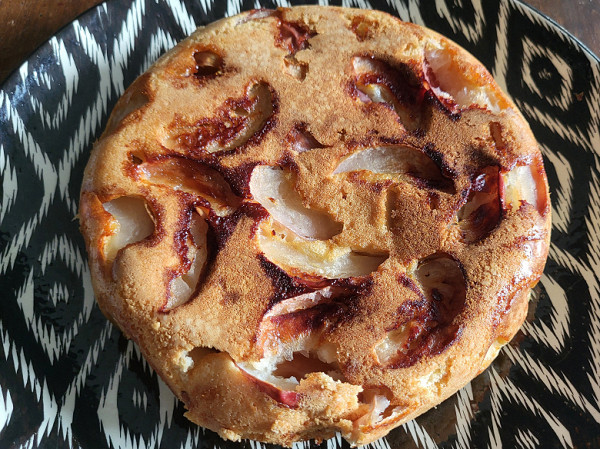
An hour later the program completed its work, and our charlotte was ready. The only difference from the results obtained in the oven was the lack of a golden crust on top. However, this did not become a serious problem for us. We checked the doneness by piercing the dough with a stick and found no moisture.
When the charlotte was ready, we carefully removed it from the multicooker bowl. There is always some anxiety when removing baked goods from a deep bowl, but the non-stick coating makes it easy and hassle-free.
Then we cut the charlotte to visually check whether it was baked, and we saw that yes, it was baked.
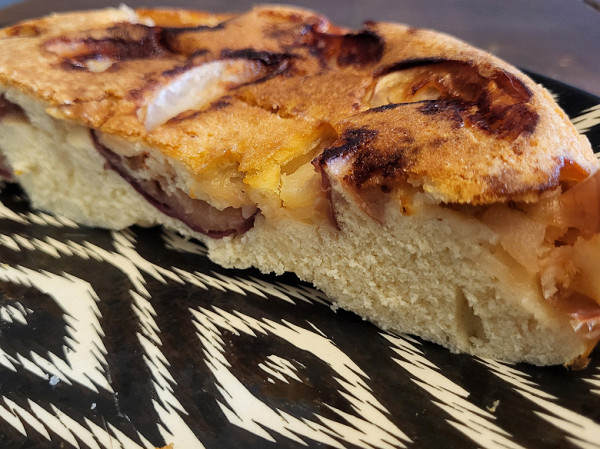
It tasted good too.
Result: excellent
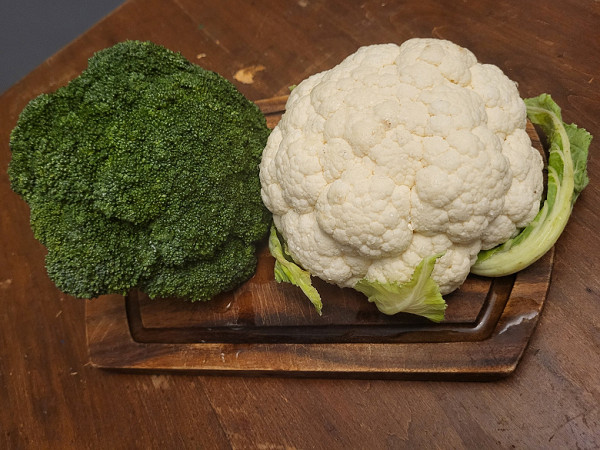
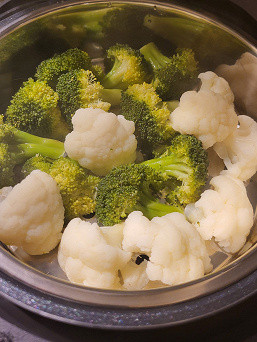
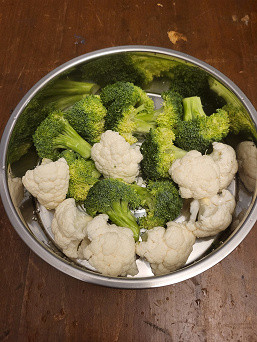
Steamed vegetables (automatic “Steam” program)
We decided to change direction to healthier eating and steamed vegetables. We took cauliflower and broccoli, separated them into florets and put them in a container to steam.
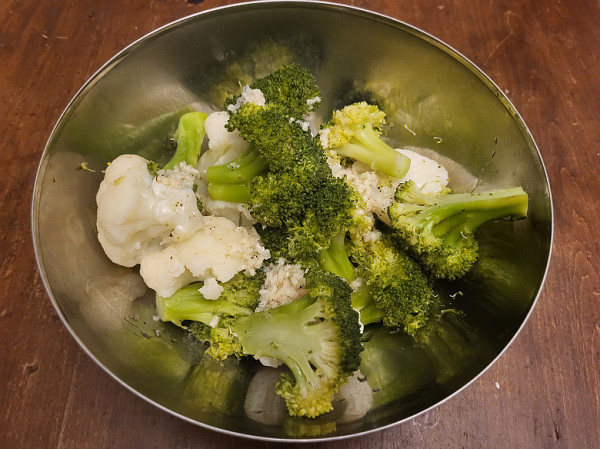
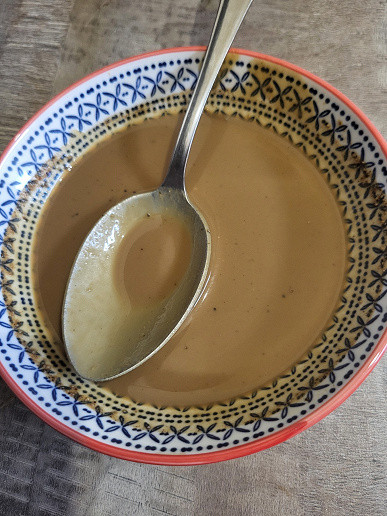
While the cabbage was cooking (15 minutes at 100 °C by default), we prepared the sauce: mix together lemon juice, olive oil, garlic, pepper and salt. After all, healthy eating is good, but eating steamed cabbage without sauce is simply impossible. After 15 minutes the cabbage was completely ready.
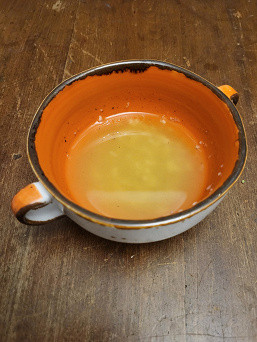
We took it out of the slow cooker, poured it with sauce, stirred it — and, depending on your preferences, we got either a wonderful side dish or a completely independent dish.
Result: excellent
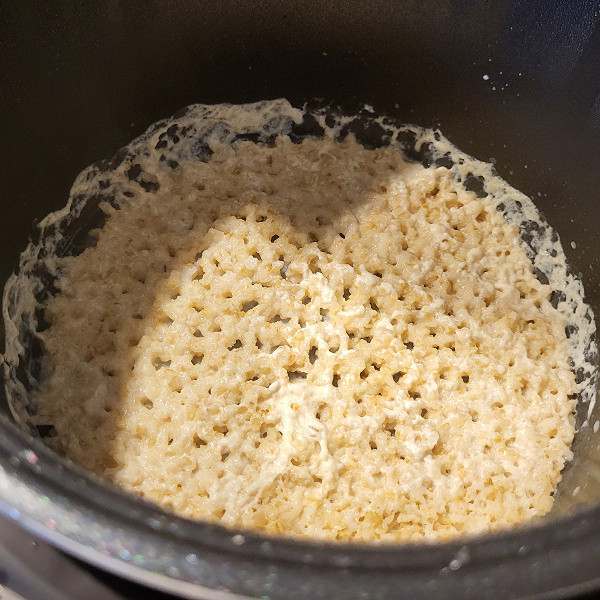
Oatmeal (automatic program “Milk porridge”, “Delay start” function)
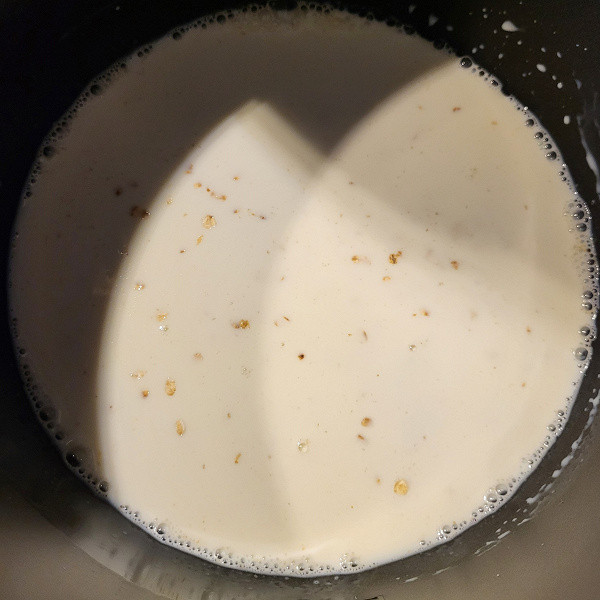
For the Milk Porridge program, we decided to choose rolled oats. They took half a glass of oatmeal, poured a glass of milk, added salt, sugar, and turned on the program.
We noticed that the Porridge Milk program defaulted to 25 minutes, but decided that was too long for oatmeal. Therefore, we set the time to 10 minutes and delayed the start of the program by 1 hour.
When the program finished working, we realized that 10 minutes of cooking was too much. For our taste, the porridge turned out to be too thick — however, it did not burn, although all the milk had boiled away.
Since we were not satisfied with the result, we decided to repeat the experiment and set the cooking time to 5 minutes (with a delayed start of half an hour). The porridge turned out to be liquid...
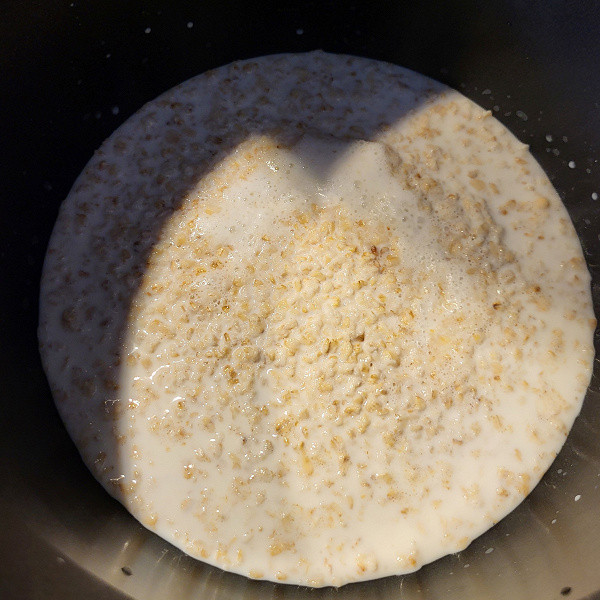
...which, however, did not prevent us from using it for its intended purpose.
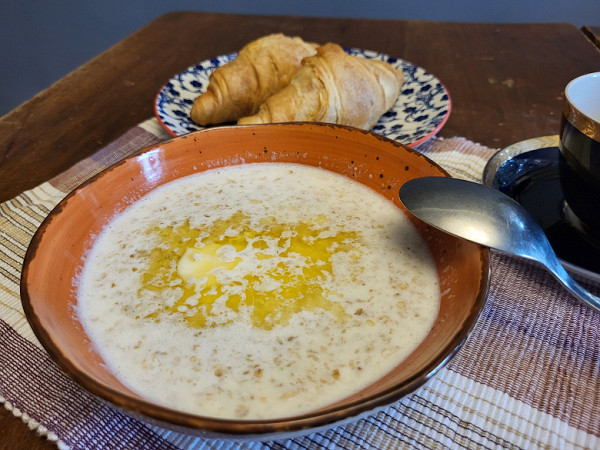
So, if you want to get milk porridge prepared completely to your taste, you will have to experiment a little with time and proportions. But, in our opinion, this is a small price to pay for a delicious breakfast.
Result: excellent
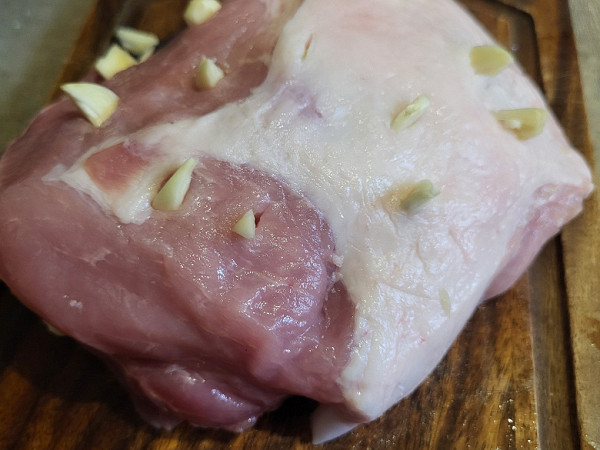
Boiled pork (automatic programs “Frying”, “Simmering”)
As a final test, we decided to cook boiled pork using the “Simmering” and “Frying” programs. While we were looking for recipes, it turned out that for best results it is recommended to use both programs.
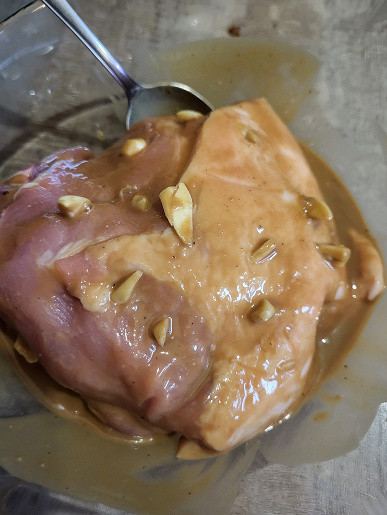
We took a piece of pork weighing 800 g and stuffed it with garlic.
We then prepared the marinade using a tablespoon of mustard, two tablespoons of soy sauce, and added salt and pepper. We coated the pork with this marinade, then wrapped the meat in cling film and refrigerated it for several hours.
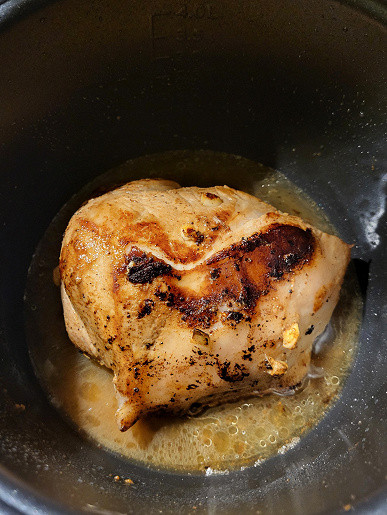
According to the recipe, a piece of meat should be pre-fried on each side before simmering, so we turned on the “Frying” program, waited until the multicooker warmed up, and fried the meat.
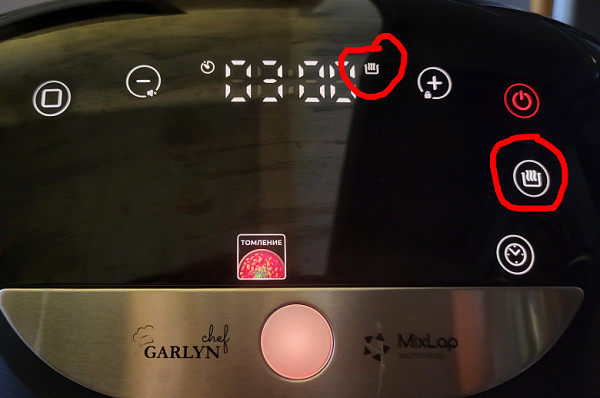
We then selected the “Simmer” program with the default settings—temperature 98 °C and time 3 hours. Since we left the meat to cook overnight, our main concern was to disable the keep warm function. We managed to do this, although not immediately. Not because the feature was not disabled, but because we misinterpreted the icons on the control panel. In the photo of the control panel on the right, we could see the icon of a pan with steam, and we mistakenly decided that the keep warm function was turned on.
In fact, the situation is somewhat different. When the keep warm function is active, two icons are visible on the control panel. One of them is located to the right of the time value and is the one that indicates that the function is enabled. To disable this feature, you just need to click the button on the right, under the «Start» button. However, it is important to watch for the appearance or disappearance of this icon to the right of the time display.
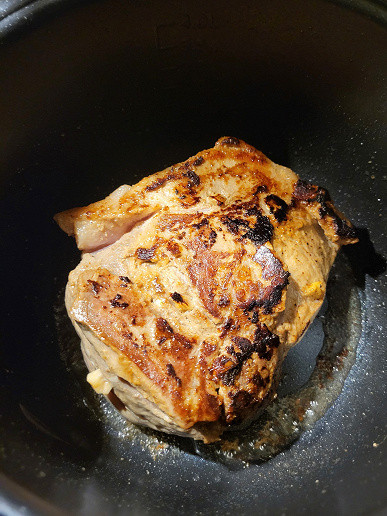
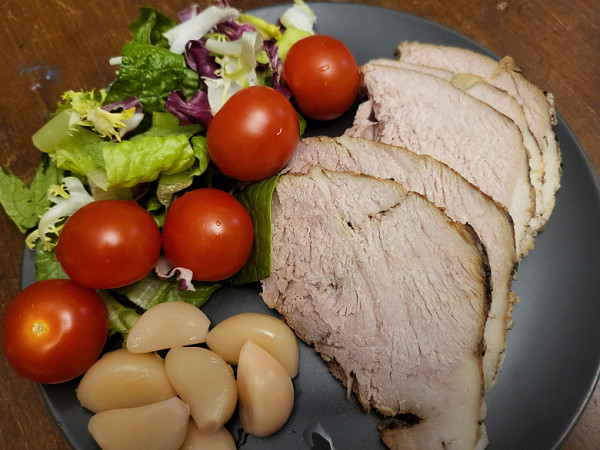
In three hours, the meat was, of course, completely cooked:
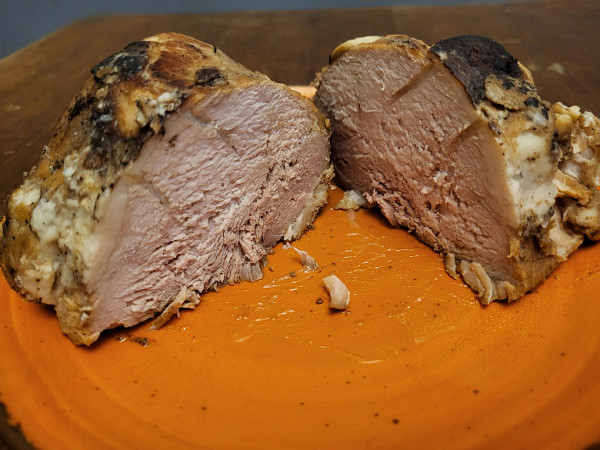
And the finished dish absolutely satisfied us.
Result: excellent
conclusions
Interaction with the Garlyn MR-Pro 20 multicooker turned out to be convenient and intuitive. With its 18 automatic programs, almost any culinary fantasy can be realized. Particularly useful is the Garlyn Chef feature, which allows you to make changes during cooking if the default settings of the automatic programs do not meet your requirements.

The colored icons that we observed throughout the entire time we were using the multicooker aroused our constant delight. As the old joke goes: “Well, first of all, it’s just beautiful...”. But, in addition, we will add that the Garlyn MR-Pro 20 multicooker is not only beautiful, but also very functional, convenient and easy to use.
Pros:
- simple controls
- ability to adjust temperature and time during cooking
- temperature setting accurate to the degree
- excellent non-stick coating of the bowl
- beautiful control panel
- accessories in beautiful orange color
Minuses:
- It’s not very clear how to disable the auto-heating function