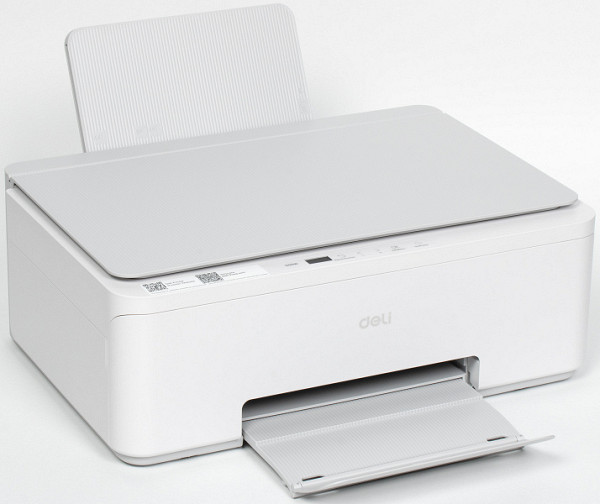
Deli Group, known for its wide range of office products and equipment, has been actively expanding its line of printers and multifunctional devices (MFPs) over the past few years. The company's history spans over 40 years, and in 2015 it launched the production of laser printers, and in 2017 the first inkjet models appeared. When the Deli D311NW model was tested a year and a half ago, it was the only inkjet MFP in the Deli range. However, by now the range has expanded: now the line includes three inkjet devices, as well as three laser printers and three MFPs.
Today we will look at the Deli D511W inkjet multifunctional device, which combines the functions of a printer, scanner and copier, and is also equipped with a continuous ink supply system (CISS). This device supports both a local connection via USB and a wireless connection via Wi-Fi, which makes it convenient for use at home or in small offices.
At the time of testing, the minimum price for the Deli D511W was $146, which makes it an affordable option among inkjet MFPs with CISS.
Specifications, equipment, consumables
As usual, we start with the list of declared parameters:
| Deli D511W | |
|---|---|
| Printing technology | Thermal inkjet system with replaceable high-capacity ink tanks, 4 colors |
| Functions | color and monochrome: printing, scanning, copying |
| Memory | n/a |
| CPU | n/a |
| Screen | 0.96″, LCD, color |
| Interfaces | USB 2.0 Wi-Fi 802.11b/g/n Bluetooth 4.2 (and higher) |
| Supported Operating Systems | Windows 7/8.1/10/11 |
| Working with removable media | No |
| Working with mobile devices | Mac OS, iOS, Android 5.0 (and higher) |
| Dimensions (width x depth x height) | 455×310×168 mm |
| Net/gross weight | 5/7 kg |
| Recommended monthly print volume (A4) | n/a (the manual mentions a resource of 20 thousand pages, after which warranty services are not provided) |
| Power supply parameters | 220-240 V, 50/60 Hz, 1 A |
| Power consumption | n/a |
| Noise level in print mode | ≤ 57 dBA |
| Operating temperature, humidity | 5-35°C (recommended 16-32°C); 20%-80% (non-condensing) |
| Service life | n/a |
| Working with materials | |
| Paper tray capacity | 100 sheets (without specifying the density — probably at 80 g/m²) |
| Output tray capacity | 40 sheets (without specifying the density — probably at 80 g/m²) |
| Additional trays (options) | No |
| Automatic duplex printing | No |
| Media density | paper (including for photo printing): 65–300 g/m² |
| Printing media formats | no more than A4/Legal |
| Types of Printing Media | plain paper, photo paper, inkjet paper, envelopes |
| Seal | |
| Print language | GDI |
| A4 Print Speed, Standard Mode | monochrome: up to 9 ppm, color: up to 5 ppm |
| Print speed A4, draft mode | monochrome: up to 15 ppm, color: up to 10 ppm |
| Photo printing, standard/best mode | ≤ 120/290 sec (print size not specified) |
| First Page Print Time | monochrome: less than 13 sec, color: less than 25 sec |
| Print resolution (best mode) | 4800×1200 dpi |
| Copying | |
| Copy speed A4 | monochrome: up to 6.5 ppm, color: up to 2 ppm |
| Copy permission | 600x600 dpi |
| First Copy Release Time | n/a |
| Replication of copies | up to 99 |
| Scaling | No |
| Scanning | |
| Scanner type | Tablet, CIS |
| Scan area | 216×297 mm |
| Automatic document feeder | No |
| A4 scanning speed | n/a |
| Scan resolution | max 1200x1200 dpi (hardware), 24-bit color depth, 256-tone grayscale |
| Save format | JPG, PNG, BMP, PDF, TIF |
The official website (in the Russian-language section) states that the device supports connection via Ethernet and Wi-Fi, and the English-language section mentions «Network: Wireless Wired». However, this is a mistake, since the device does not have a wired network interface, which is confirmed by the absence of the letter «N» in its name, unlike the Deli D311NW model, where a wired connection is available.
Both sections of the site also mention the presence of Bluetooth, but this interface is not mentioned in the instructions, and its operation is not described. Presumably, Bluetooth is designed to work with a mobile application, which we will discuss below based on practical experience.
The package includes:
- power cable,
- USB cable,
- consumables kit,
- printed materials (including a quick start guide, and a more complete instruction is available for download on the site),
- warranty card.
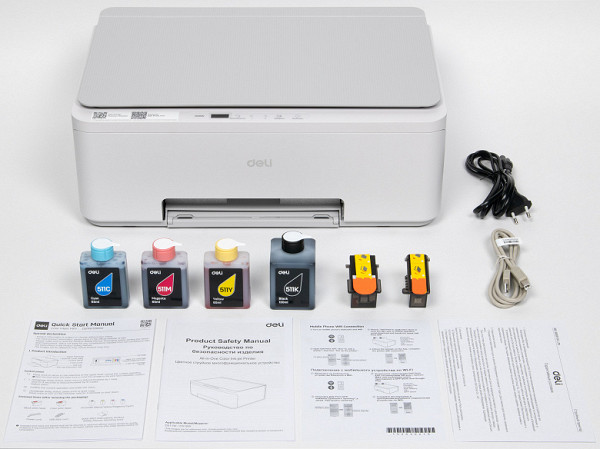
The device comes with:
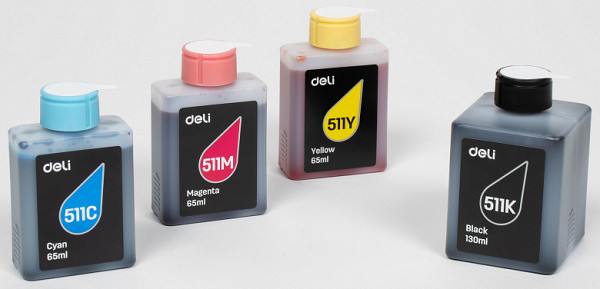
- ink tanks labeled «Deli 511», with a letter added to indicate the color: K for Black, C for Cyan, M for Magenta, and Y for Yellow. The Russian-language section of the site states that each set has a capacity of 7,000 prints. The ink volume varies: the black tank (511K) contains 130 ml, while the color tanks contain 65 ml. These tanks are included in the package and are also available for purchase separately.
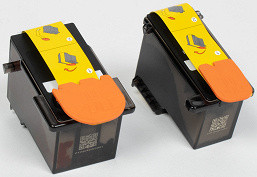
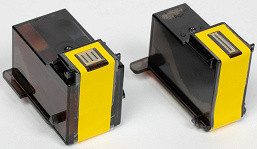
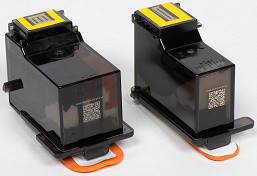
- Print heads — black (designation XJ511-0B) and color CMY (XJ511-0C).
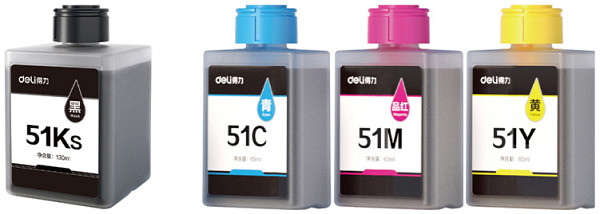
Note: in the illustrations on the official website, the container designations are slightly different — Deli 51 with the addition of a letter for the color.
The containers for the Deli D311NW model have a larger capacity: 200 ml for black ink and 100 ml for color, while the declared resource is slightly higher — up to 8 thousand prints. The starter and retail kits also differ: the black starter kit is designed for 4 thousand pages, and the color one — for 8 thousand, while in retail, black ink is designed for 5 thousand pages, and color — for 10 thousand. For the Deli D511W, such differences were not noted at the time of testing, and only the standard data specified earlier were mentioned.
There is no official information on the type of ink (pigment or water-soluble), and there is no unofficial data yet. Conducting experiments, such as checking the resistance of prints to moisture, is impractical, since the situation may change. For example, for some Deli D311 models released after a certain date, it was announced that the black pigment ink Deli 311FK would be replaced by water-soluble Deli 322FK (thanks to the reader for providing the information).
At the time of writing, the estimated prices were $6.25 for a color container and $13 for a black one.
According to the instructions, replacing the print heads is an operation that can be performed by the user. However, it is not yet clear where the heads can be purchased. According to the company's representative, the resource of the heads is similar to the Deli D311NW model: 20 thousand prints for the black head and 10 thousand for the color one. The instructions mention the possibility of replacement, but not as a mandatory procedure — printing can continue even when the resource of the heads is exhausted. The question of whether the heads will withstand the declared service life remains open and will require long-term testing.
In addition, inkjet printers have an absorber (or «diaper») — a device for collecting excess ink, for example, during cleaning of print heads. The absorber is also subject to replacement, but in most cases this procedure is performed in authorized service centers, which is probably also applicable to the Deli D511W, since the absorber is not mentioned in the instructions, and there are no messages about its overflow in the error list.
There are no additional options for this MFP.
The device is supplied in a high-quality cardboard box equipped with side slots for easy carrying.
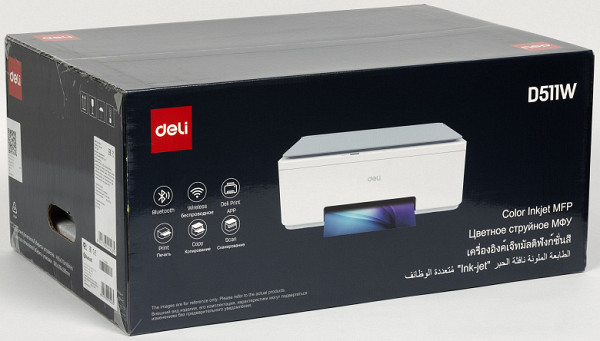
Appearance, design features, preparation for work
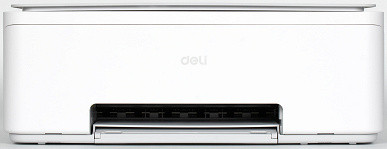
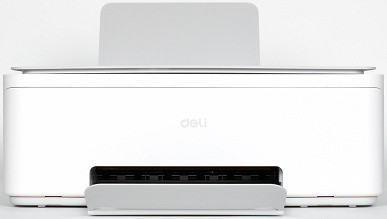
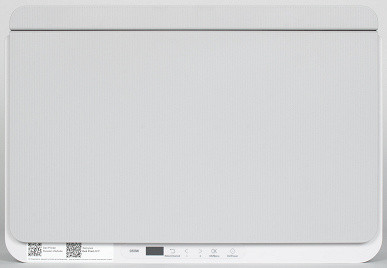
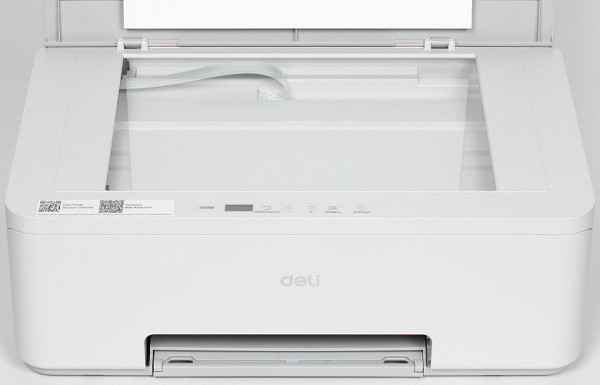
Like the Deli D311, the new device looks like a low block with strongly rounded vertical edges and noticeable bevels at the bottom of the case. The case, scanner cover and control panel are made in milky white. All surfaces are matte, and the scanner cover and trays have a ribbed texture, making fingerprints almost invisible on them.
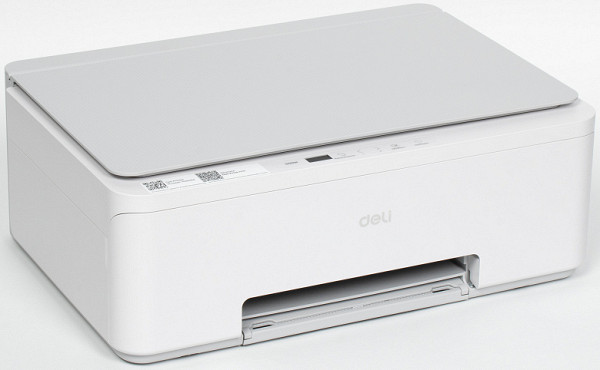
The input tray is located at the back, its cover lifts and folds back to about 20-25 degrees from the vertical — this is a standard solution for most inkjet printers of this type. The tray holds up to 100 sheets (paper density is not specified in the description, but is usually 80 g / m²), which is also typical for devices of this class that we have previously tested.
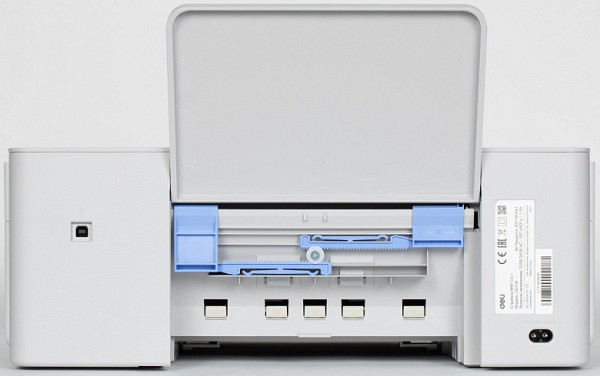
The paper feed tray has width stops and an additional cover that covers the media feed opening. The output tray is also fairly standard: pull-out, with a folding extension that slightly lifts the front of the printed sheets. It is located on the front panel of the case.
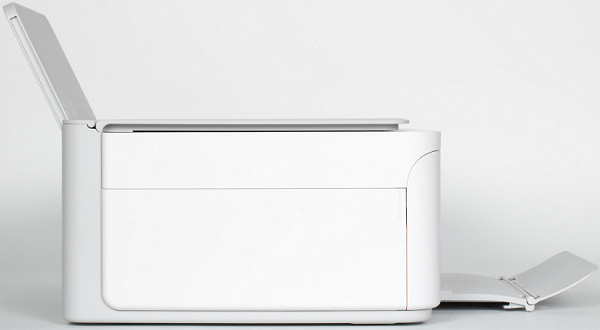
This tray has no side or front stops and holds 40 sheets, so when printing large volumes, you'll need to remove prints at least twice between adding paper. This tray arrangement minimizes paper flex in the feed path, allowing you to use heavyweight media, including inkjet photo paper up to 300 g/m².
The scanner is located in a traditional way for devices of this type — longitudinally in the upper part of the MFP. There is no automatic document feeder, which is expected for a budget model, only a regular cover is provided. It opens by moving it backwards until it stops, at an angle of slightly more than 90°, and you can hook it anywhere. There is no intermediate fixation, and when copying large originals, books or stitched documents, it is impossible to lift the back of the cover to reduce glare at the edges. The height of the device with the scanner cover open is 41 cm.
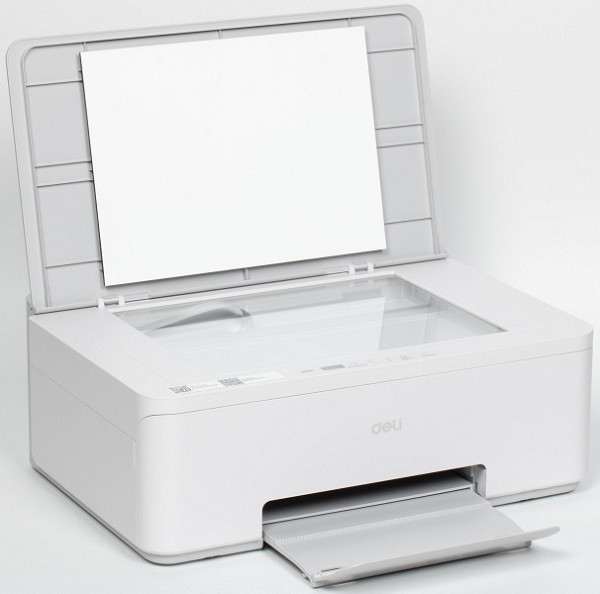
The device does not have a duplex (automatic two-sided printing), which is also typical for inexpensive inkjet models.
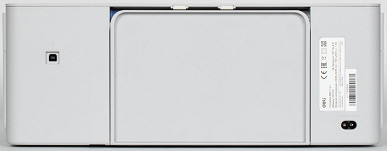
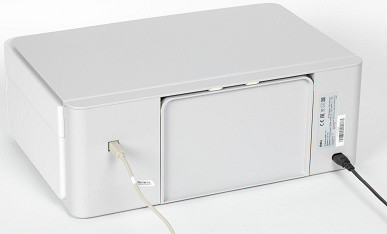
On the right side of the back wall is a USB type B (female) connector, and on the left is a socket for connecting the power cord. The connected cables require some space behind the device, so it cannot be installed close to the wall. The device does not have a mechanical power switch.
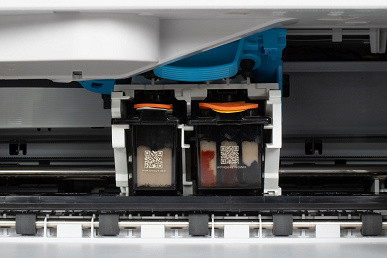
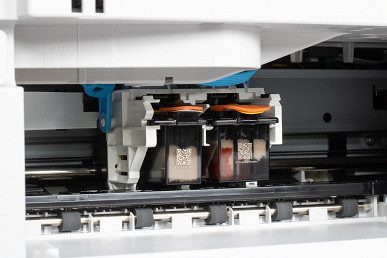
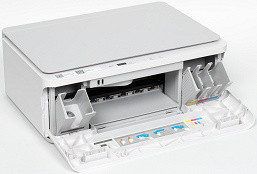
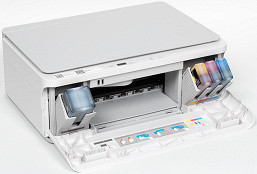
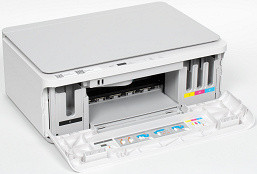
In most cases, the upper part of the MFP is folded upwards to access the units and mechanisms, but in this model it is impossible — only the front cover opens. Behind it is the parking space of the carriage with print heads and «ink tanks», and the mechanisms and ink supply tubes are also visible.
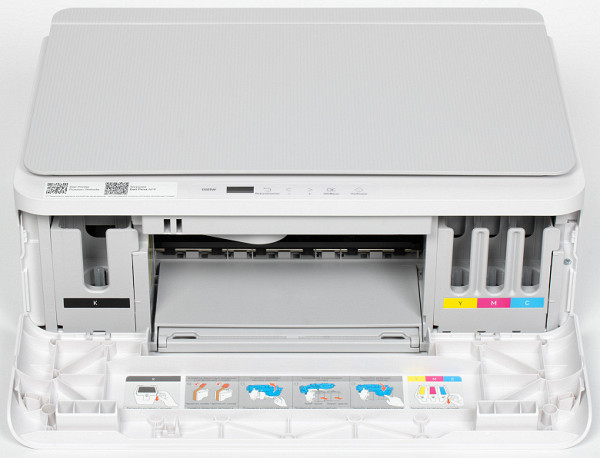
The filling system is the same as in the Deli D311: the ink is installed together with the containers, and not poured from bottles. However, in the D511, the black ink compartment is located on the left, and for the three colors — on the right. They are equipped with folding cassettes, which makes installing the containers convenient. The slots in the front walls of the cassettes allow you to check the remaining ink, but to do this, you need to fold back the front cover.
Protection against incorrect installation is provided: the container and the corresponding compartment have individual protrusions and grooves that prevent color confusion. Thus, ink cannot be added; you just need to replace the empty containers with new ones. It is difficult to say how much more convenient or less convenient this solution is compared to the usual bottles — this can only be found out during long-term use. We also cannot determine whether the containers will be completely emptied before printing stops with a notification of the need for replacement: it is impossible to print about 7 thousand pages during testing. It is unclear whether the printing will stop or continue without one color (optimally, black and white printing after the ink in one of the color containers runs out).
We begin preparing the printer for work by installing the print heads: we free them from the protective films, open the front cover, lift the blue carriage cover (it is clearly visible when viewed from the front and from below, you need to pull it slightly towards yourself to release the latch) and insert the heads until they stop: black — on the left, color — on the right. We lower the blue cover until it clicks; you may have to pull its lower edge towards yourself again a little.
Note that in the previous photos the protective films have not been removed from the heads — their orange tips are clearly visible; when actually installing the films, they must be removed.
Now let's move on to the ink. Remove the round stickers with «tongues» from the caps (the caps themselves do not need to be removed), fold back the installation cassettes and, with some force, insert the containers with their necks down until they stop in the compartments of the corresponding colors. The ink does not spill out before installation — this has been verified, but when the cassette with the container (or containers) returns to the working position, gurgling sounds are heard: the ink is partially poured into the system.
Close the front cover, put several sheets of paper in the input tray, connect the power cable to the socket on the back wall and press the «On/Power» button (the printer may turn on automatically).
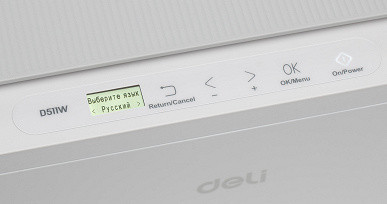
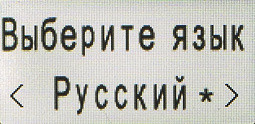
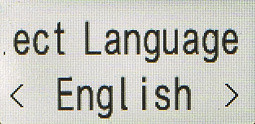
The printer moves the carriage for a minute, making sounds of the mechanisms. Then the LCD screen prompts you to select a language (Russian is available), then load paper and press «On/Power» to start calibration. This procedure is mandatory to ensure normal print quality, but it can be done later.
After loading the paper, a calibration page is printed. When it is finished, you need to put the page on the scanner glass, press the same button again and wait for the message «Calibration complete». The whole process took us about two minutes. If the message «Calibration failed» appears, repeat the procedure by pressing «On/Power» — scanning and calibration will be performed without reprinting the page.
Press the «OK/Menu» button to go to the copy mode, and you can start working.
Unlike the Deli D311 model, the Deli D511 does not have a lever that blocks the carriage movement, so the device must be carried horizontally, avoiding tilting and swinging to prevent ink leakage.
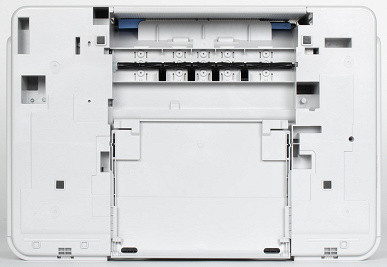
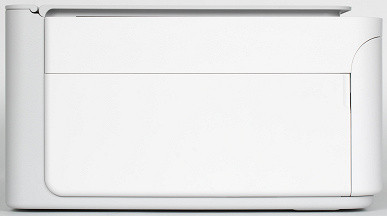
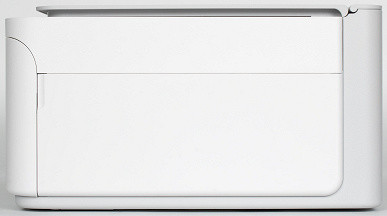
In addition, we will provide views of the device from the sides, top and bottom.
Control Panel
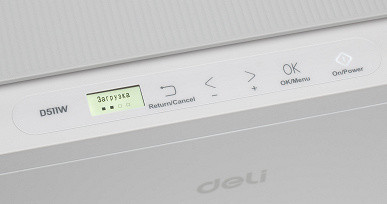
The control panel includes a 0.96-inch (approximately 2.4 cm) color LCD screen and five buttons. It is located horizontally, which allows you to comfortably work both standing and sitting next to the device, despite the small height of the case.
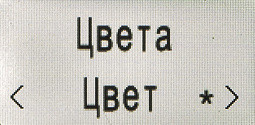
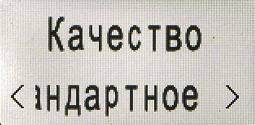
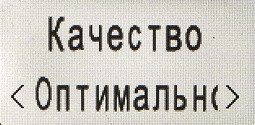
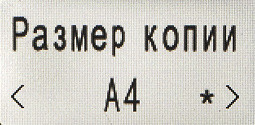
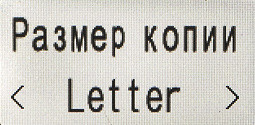
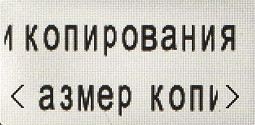
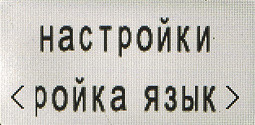
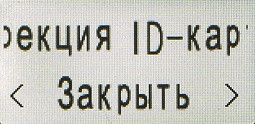
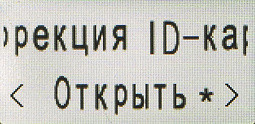
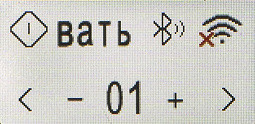
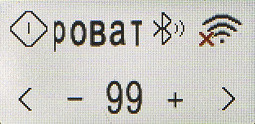
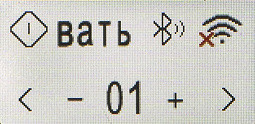
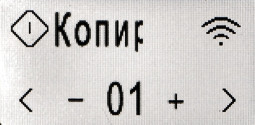
The screen is graphical with good resolution, and viewing angles, brightness and contrast provide comfortable work. The font is well chosen: although the inscriptions are small, they are readable. Automatic scrolling is provided for long words and phrases, due to which many words do not look whole in the photos of the LCD screen — on such a tiny screen this is quite expected.

The buttons are marked only with symbols without frames and are not touch-sensitive — they need to be pressed, not touched. The sensitivity of the buttons leaves much to be desired: sometimes short presses do not work, so it is better to hold the button a little longer. The force required to press could be less, and the sound of the operation — quieter.
The only backlight is the «On / Power» button, which is also responsible for turning on the device. To turn it off, you need to hold the button down for three seconds, although in practice it is better not to release it until you hear a short sound of the carriage moving, otherwise copying may begin. The symbols of the other buttons are poorly visible in low light, which is not very convenient. When errors or situations requiring attention occur, the backlight of the «On / Power» button changes from white to red, for example, when the paper runs out (to continue printing after adding, you must press this button).
The functions of the buttons are described in the manual quite clearly, and it will not be difficult to understand them, so we will not list them and will dwell on the menu in more detail.
To enter the menu, you need to press the «OK/Menu» button from the copy mode, which is set after turning on the device. Note that in some moments our device differed from the one described in the manual.
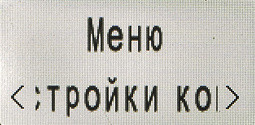
The first section of the menu is “Copy settings”, there are settings:
- colors — copying in color or black and white (more precisely, in grayscale), here and below we write the default setting first;
- quality — standard and optimal;
- copy size — A4 and Letter.
There is no scaling in the menu, which may seem unpleasant, but how often is it really needed in practice?
Next is the "ID card copy" mode. This is not just a set of settings, but a separate mode, when switching to which you are asked to perform a number of actions (details below).
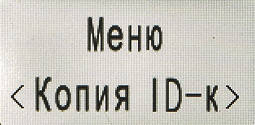
"Calibration" is not just a set of settings, but an operation that we mentioned earlier. It can be performed at any time, for example, if the image becomes blurry or the lines become uneven.
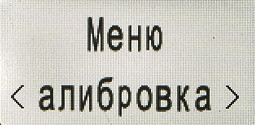
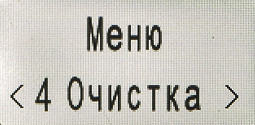
"Cleaning" is another operation that is necessary when the print quality has deteriorated, when the image has stripes, some color is missing, or there is uneven density. To perform it, you will need a sheet of paper in the input tray on which a set of color stripes and grids will be printed. If the stripes are not solid, the procedure must be repeated. The entire process takes about a minute.
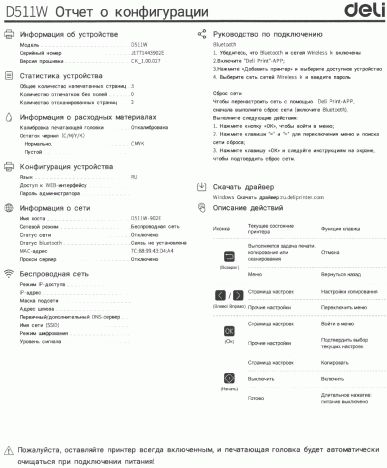
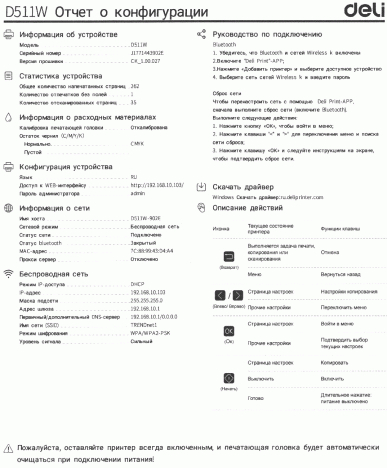
"Print report": no comments, just scans (before and after connecting to the network, plus some work). The report also contains some useful tips.
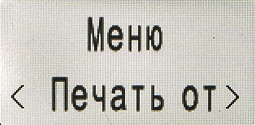
Note the phrase at the bottom regarding automatic head cleaning, but if the printer is always on (as this phrase recommends), then what is "power on"?

The sixth point is “Reset network settings”, this is also an operation that after selection must be either confirmed or cancelled.
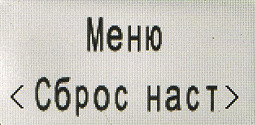
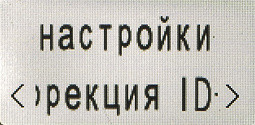
The seventh item is simply called “settings” (with a lowercase letter).
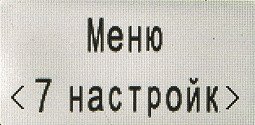
Here you can find:
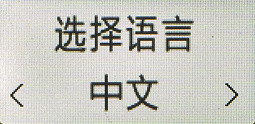
- language settings — Russian, Chinese, English;
- ID card correction — open, close; not commented anywhere, let's try it ourselves (see below);
- reboot is an operation that after selection must be either confirmed or cancelled; the essence is reset to factory settings, takes about half a minute.
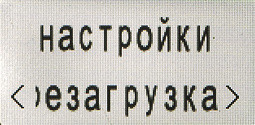
That's it, there are no more items on the menu.
Autonomous work (copying)
The only function available without a computer or network connection is copying.
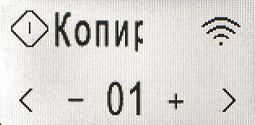
The screen only displays the number of copies, which can be set using the arrow buttons from 1 to 99 (the selection is made in a circle, and does not automatically reset after a while — this can be convenient, but sometimes it is a nuisance). The choice of color or black and white mode, as well as one of the two quality gradations, is made through the menu, as mentioned earlier.
Copying is started by pressing the «On/Power» button briefly, and can be cancelled by pressing the «Return/Cancel» button. A long press of this button activates the «Copier Cleaning» function, which resets the settings to default, including the number of copies, and takes 2-3 seconds, after which the message «Settings complete» appears. If the paper runs out, an error message will be displayed on the screen, and you can continue printing after refilling the tray by pressing the «On/Power» button.
As already mentioned, to switch to the ID card copy mode, you need to use the menu.
The process of working with ID cards is familiar to many users of other devices and is accompanied by on-screen prompts. First, place the first side (or spread) of the document on the glass, then press the «On/Power» button to scan. After that, a request will appear to scan the second side (spread); when you press «On/Power», a second scan will be performed, and both images will be printed on one side of the sheet.
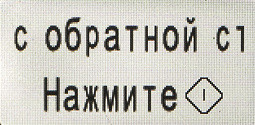
The ID Card Correction setting may raise some questions. The Open setting enables automatic alignment of the images on the copy, while Close disables this function. Based on previous experience, the original must have a clear border for the auto-alignment to be successful, so this may not work for business cards with text on a white background.
It is important to note that ID cards in the D511W are copied only once and in grayscale, even if the color mode is selected for normal copying. Apparently, the copy quality settings do not affect this process either. If you need color copies, you should use normal copying, placing the first side of the document in the input tray with the image facing up. In this case, there will be no auto-alignment, and the second side or the original spread must be correctly placed on the scanner glass, which is quite easy to understand.
Connecting MFP
The work was carried out on Windows 10, which is still the most common version of this operating system.
The delivery set does not include media with software, so the installation file must be downloaded from the official website, which is not difficult.
Local connection
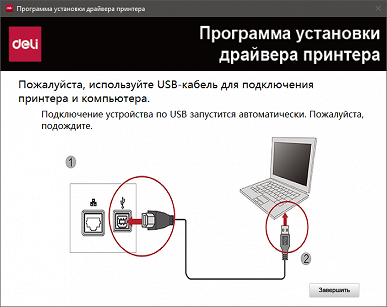
As usual, the process begins with installing the drivers, and we connect the MFP to the computer via a USB cable only when prompted by the installation program.
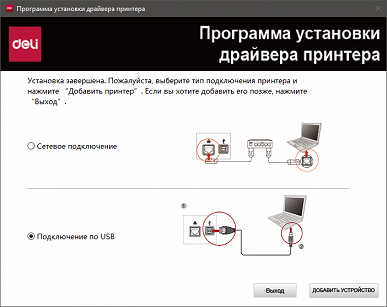
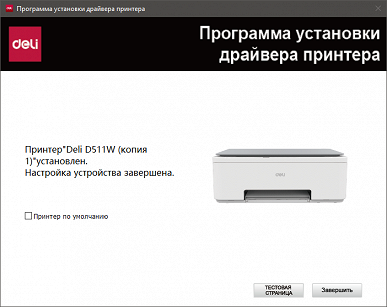
First, the Deli Ink Print Assistant utility is installed (the icon will appear on the desktop), then the program will prompt you to select the connection type. When prompted, we connect the cable and wait a bit.
There will be no message about successful installation, so we focus on the “Devices and Printers” snap-in: when Deli 511W appears in it, click “Finish”.
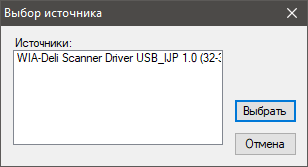
We also see a scanning driver, but only one — WIA (USB).
Print driver settings
The driver interface is translated into Russian and consists of only two tabs, which present all the minimum necessary parameters, although the translation is not always successful.
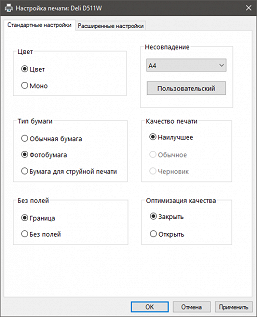
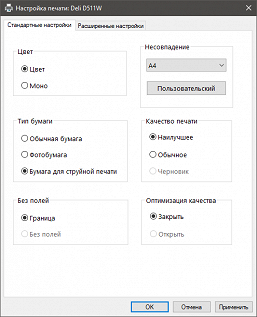
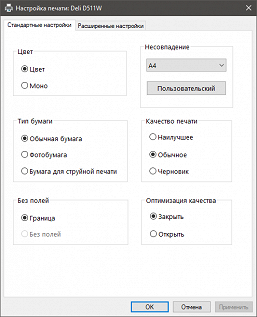
On the first tab, you can configure the basic parameters, which can be seen in the screenshots. Some settings are interconnected: for example, borderless printing is only possible for photo paper, and for ordinary paper, three quality gradations are available, while for other types — one or two.
The «Quality Optimization» function remains unclear, as the manual does not explain it. It can be assumed that in one of the states (under the unfortunate names «Open» and «Close») bidirectional printing is disabled, which can reduce the speed, but improve the transmission of vertical lines (although this is not always noticeable and not on all images or documents). If such problems arise, it is best to start with calibration.
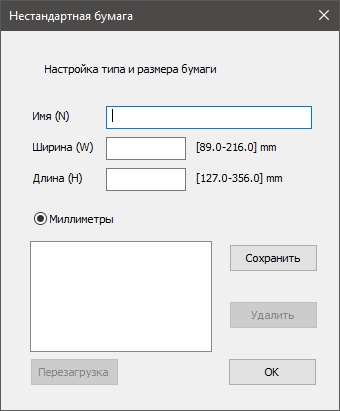
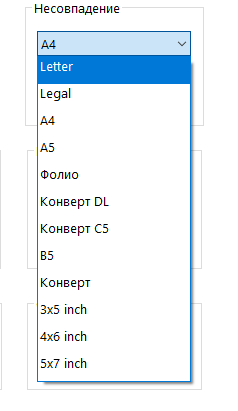
The choice of format and type of media (paper, envelopes, photo paper) is strangely indicated as «Mismatch». In addition to standard formats, you can also set custom sizes, setting the media size in a wide range and assigning it a clear name for further use.
The second tab provides settings for print orientation, page order, and how copies are sorted for multi-page documents. Printing on both sides (with manual flipping) is only available for plain paper.
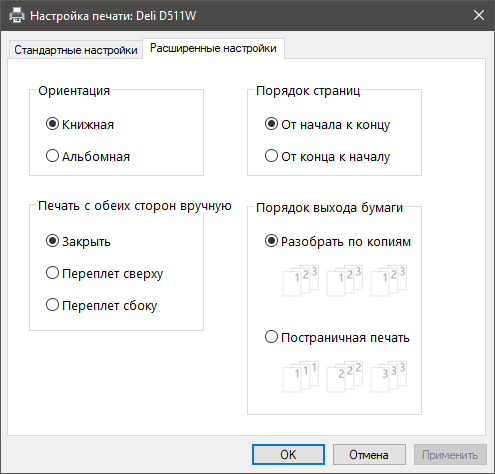
The driver does not have the ability to create booklets or place several reduced pages on one printout, but this is not a particular cause for regret. Also, the number of copies is not set in the driver, but it can be set in the application from which printing is launched.
Scan driver settings
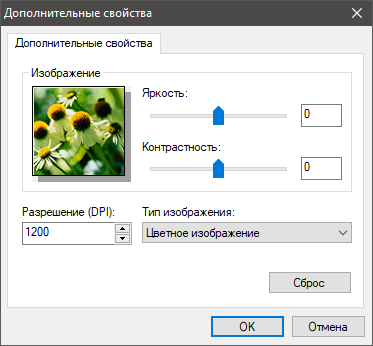
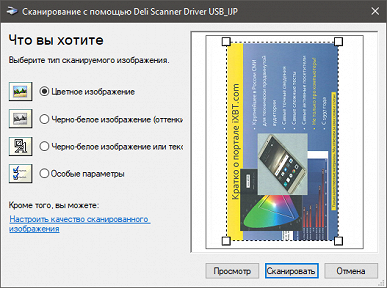
After installing the software, the WIA driver becomes available with a standard interface. It allows you to select the color mode (color, grayscale, black and white) and set the resolution in the range from 75 to 1200 dpi with seven levels. A preview is provided, where you can manually adjust the scanning area. Brightness and contrast settings are also available.
In general, as expected. The scanning quality is average, which is typical for most MFPs, even more expensive models, since they are focused on working with documents, not on photo images. However, it is worth noting that the scans from the Deli D511W are better than those from the Deli D311NW, despite the same characteristics of their scanners.
Utility Share Ink Printer Assistant
The utility installed with the drivers will allow you to remotely control the MFP status, including checking the ink level, changing certain settings and performing scanning. The program interface is translated into Russian.
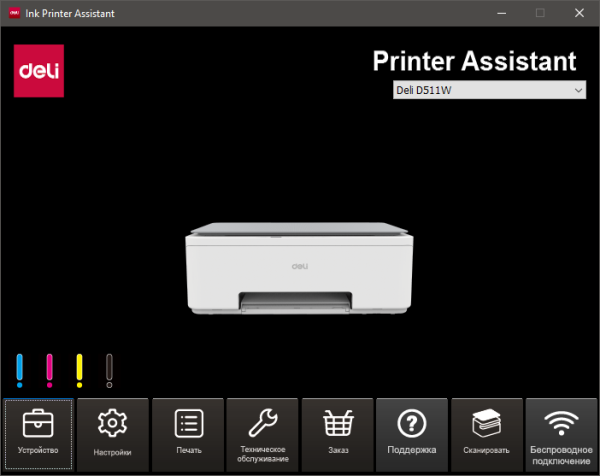
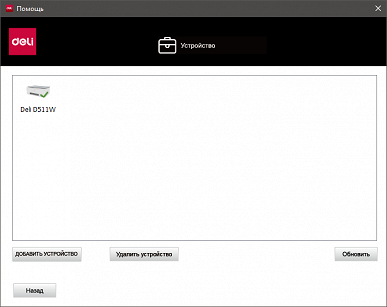
Let's start with the buttons in the bottom row of the window. The first button, «Device», is similar to the «Devices and Printers» snap-in in Windows and allows you to view installed printers, add new ones, and delete unnecessary ones.
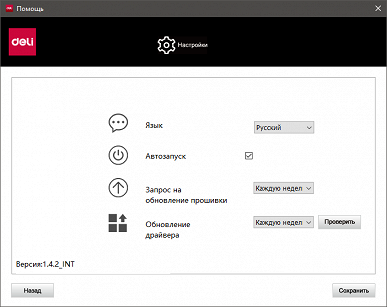
The «Settings» button opens the parameters of the utility itself, such as language selection and the ability to autorun at OS startup, which allows you to receive notifications about various events. You can also manage requests for firmware and driver updates here.
"Print" — calls the standard print queue viewer.
"Maintenance" contains seven functions:
- «Print options» — the already familiar print settings in the driver
- «Power saving mode» — sets the idle time before switching to sleep mode (from 1 to 60 minutes, 5 minutes by default)
- «Firmware update» — displays the current firmware version (we had СК_1.00.27), searches (requires an Internet connection) and installs a more recent one
- «Calibration» — for some reason this function was not available from the utility
- «Cleaning mode» — the same as «Cleaning» in the MFP menu
- «Device information» — some information about the device, including the current IP address
- «Network configuration» — we will talk about it later
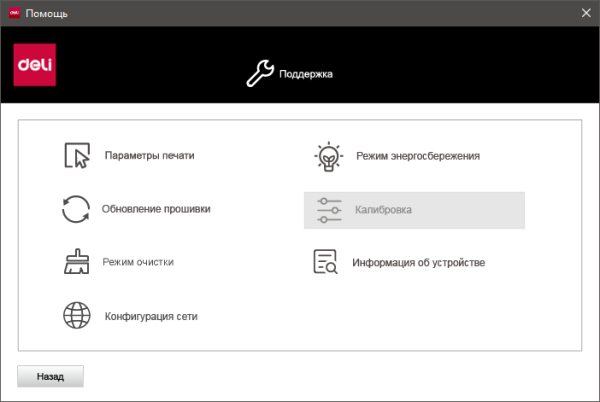
The "Order" and "Support" buttons take you to the manufacturer's official website.
The most useful button is "Scan", which, in the absence of any graphic applications, will allow you to scan documents and images, saving them as files.
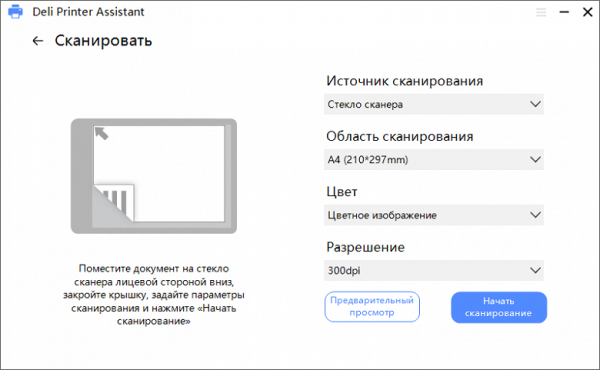
Available options include a single source — glass, a choice of mode (color or grayscale with the designation «B&W image»), and resolution (300, 600 or 1200 dpi). Preview is possible, but without the ability to manually change the scan area — it is changed only through the «Scan area» field by selecting the format.
After that, an editing window opens, where you can change the scan area by moving the borders, rotate the image and adjust the brightness and contrast.
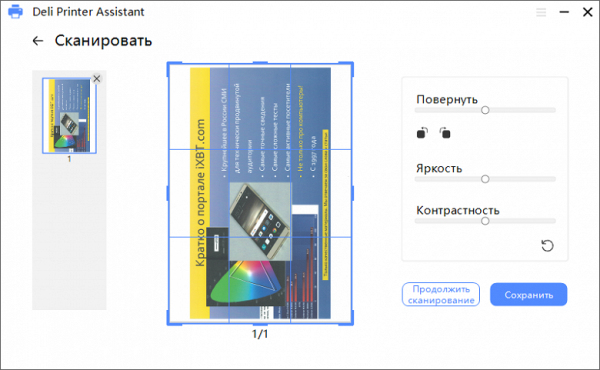
You can then either scan the next original or proceed to save, which includes JPG, PNG, PDF, TIFF, and BMP. The default file name template includes the word deli and the date and time, but you can change it and choose a save folder.
However, you can't save your own custom settings, which is inconvenient if you regularly scan with settings other than the default.
We'll discuss the last button, «Wireless Connection,» later.
Network connection
The MFP does not have built-in tools for configuring network parameters, so a USB connection and the Deli Ink Printer Assistant utility are required. Thus, the local connection step described earlier is mandatory, even if in the future the device is planned to be used exclusively in network mode.
Infrastructure mode
The connection will be made to an existing wireless network in infrastructure mode. Until the connection is established, a Wi-Fi symbol with a red cross will be displayed in the upper right corner of the LCD screen.
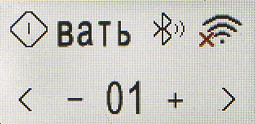
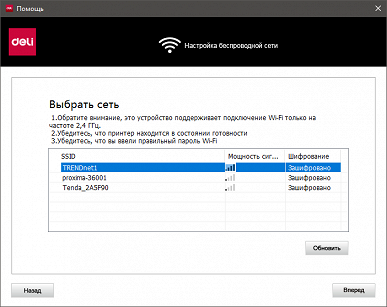
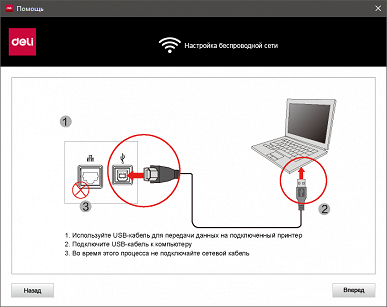
Press the rightmost button in the utility window, after which a window appears asking you to connect the computer and the MFP with a USB cable (the mention of a network cable applies to models with an Ethernet interface). Then, after a while, a list of available wireless networks will be displayed, from which you need to select the desired one.
When prompted, enter the password to access this network and wait for a message about a successful connection. The Wi-Fi symbol on the LCD screen of the MFP is now without a cross.
Here is the connection information from the router:

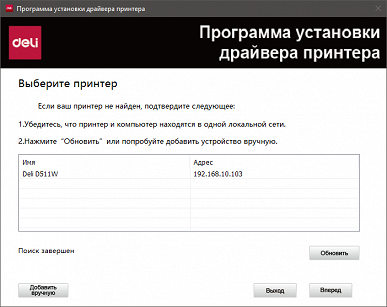
Return to the main utility window and click the leftmost button «Device». In the window that appears, select «Add device» and get a list of detected printers. Select the desired printer (in our case, it is the only one) and click «Forward». Wait for a message about successful installation, where you can immediately set it as default and print a test page to check the connection.
The network printer is displayed in the drop-down list in the upper right corner of the utility window and in the Windows Devices and Printers snap-in. However, there is a problem with the display of the ink level: if during a USB connection in the main utility window the four columns at the bottom left were filled with CMYK colors, now they are empty. In addition, we also get access to the WIA network scanner (in addition to the local USB).
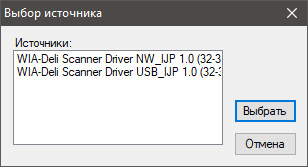
Now you can use both a network and a local connection for printing and scanning. This is especially convenient when working with several computers, if the MFP is connected to one of them via USB, and the others are connected via Wi-Fi. When installing the software on these computers, select the network connection and look for an already configured network printer.
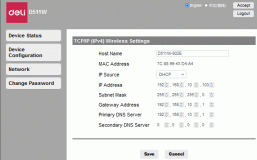
By default, the IP address is assigned using DHCP, but it can also be set manually through the utility in the Maintenance — Network Configuration section (the printer must be connected to the USB port).
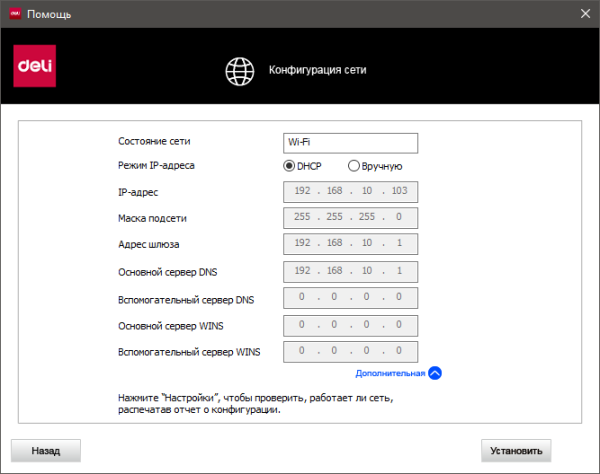
The established connection is saved after turning off and on the MFP and/or router. We cannot say for sure whether this is always the case or forever, but there were no problems with this during testing.
Web interface
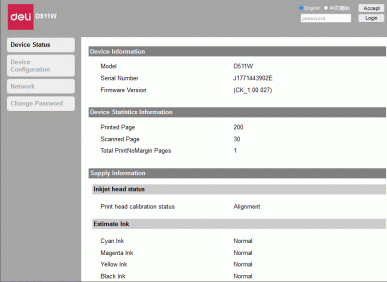
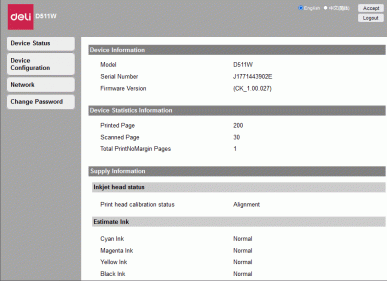
When entering the IP address of the MFP in the browser, a web interface with limited capabilities opens: only viewing the device status is available. To gain full access, you must enter the password, which is set to «admin» by default (according to the instructions), which can be changed. The interface allows you to select a language, but so far only in English and Chinese.
Print and scan counters are displayed, and only general information is provided for consumables.
The Device Configuration section provides some settings familiar to us from the MFP menu itself, and you can also print a report, run head cleaning, and restore factory settings.
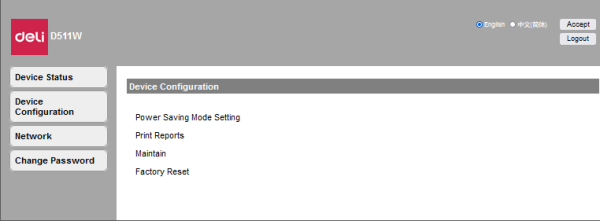
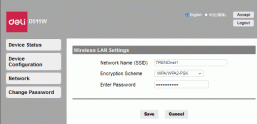
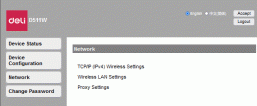
The Network page is also all familiar:
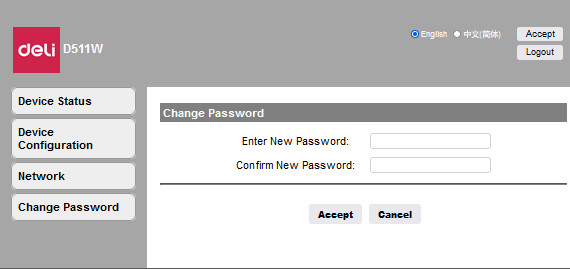
The last point is changing the password for accessing the web interface:
Working with mobile devices
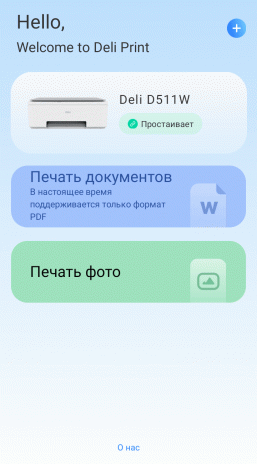
For working with mobile devices, the company offers the Deli Print application. As the name suggests, it allows you to print, but not scan.
Install it on a smartphone with Android OS:
The configuration report printed from the MFP menu contains brief instructions on how to connect (although the translation leaves much to be desired):
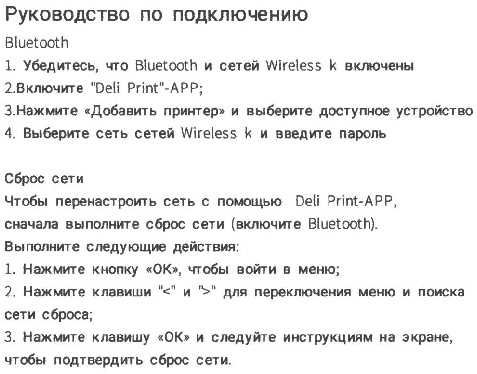
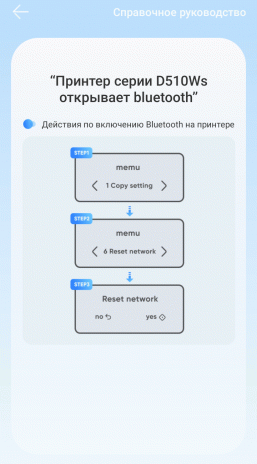
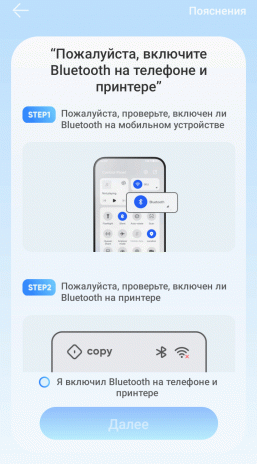
According to this information, Bluetooth and Wi-Fi must be turned on simultaneously. However, in practice, the situation is as follows: if we use Wi-Fi to connect the MFP to a wireless network in infrastructure mode (there are no other options), the Bluetooth icon disappears. In case of network reset (item 6 of the built-in menu), Bluetooth appears again, but a red cross is added to the Wi-Fi icon, indicating the lack of connection, and the report displays the status «Network: disabled».
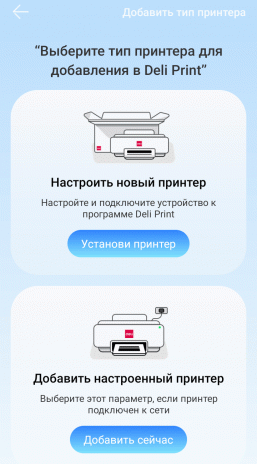
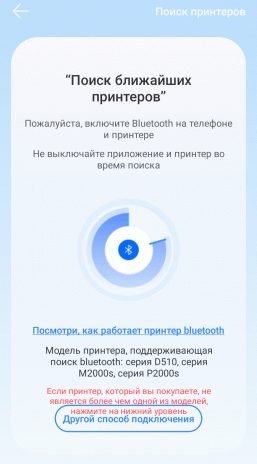
The «Set up a new printer» feature involves searching via Bluetooth.
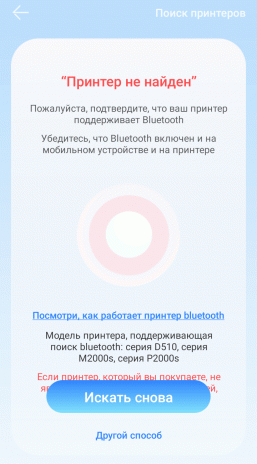
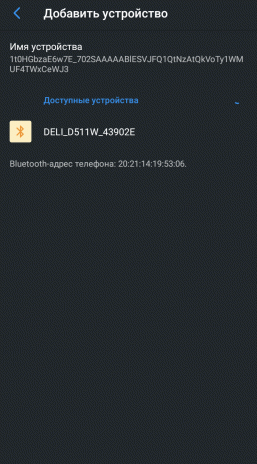
No additional instructions on how to use the app are provided: the user manual for the MFP itself makes no mention of Deli Print or other ways to interact with mobile devices. If the printer supports Wi-Fi Direct, another network should appear when viewing the network environment from an external device, usually its SSID includes the name of the device (which is the case with the Deli D311NW). This SSID is also mentioned in the configuration report and can be changed in the settings («Host Name»). In the case of the Deli D511W, there is nothing like this (there is a mention of Wi-Fi Direct in the list of technical specifications in the manual, but this information is not available on the official website deliprinter.com). Although a Bluetooth device with a name starting with «Deli_D511W» is detected by the smartphone, searching in the Deli Print app and in the Android print service ends in failure, despite the fact that in the same app the D510 series printers are listed as supporting Bluetooth. Another possible way is to scan a QR code, but this requires the ability to print it or display it on the LCD screen, which is not possible with the Deli D511W.
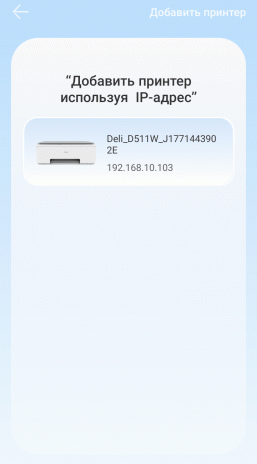
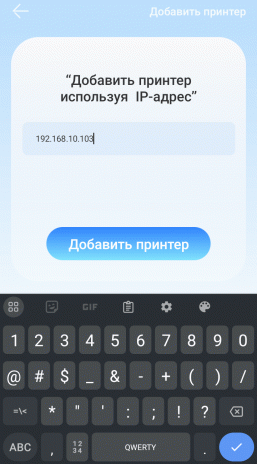
Another way to add a device is suggested — by IP address.
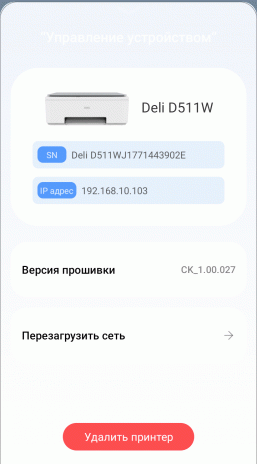
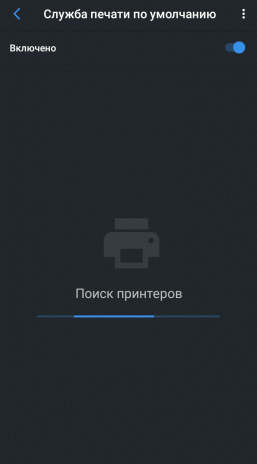
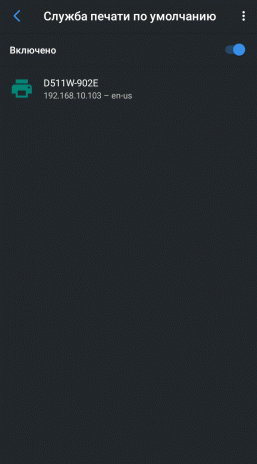
To «add» a printer in the application by IP address, you need to connect both the printer and the smartphone to the same network, which is what we did. There are two options: either directly specify the printer address (it can be found in the Deli Ink Printer Assistant utility or print a report), or use the search function by IP address («Add a configured printer»). We tested both methods successfully, after which the Deli D511W was able to connect to the default Android print service.
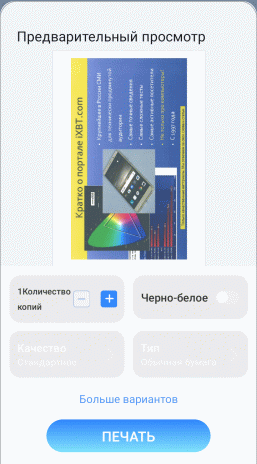
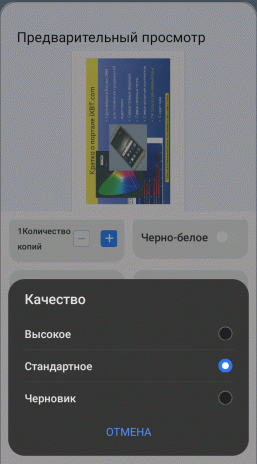
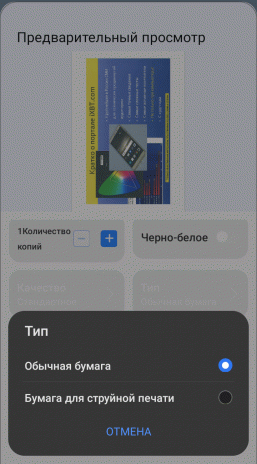
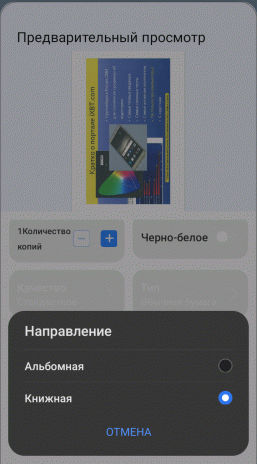
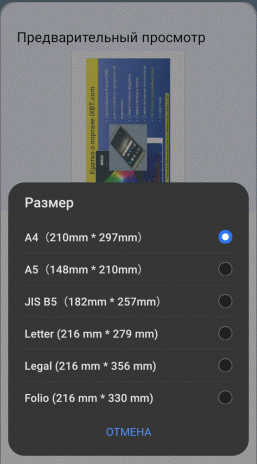
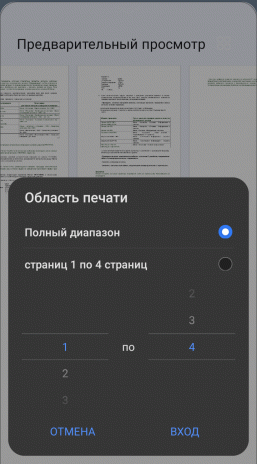
You can print documents (currently only PDF) and photos (although the list of supported formats is not specified, smartphones usually have few of them). A preview is also available.
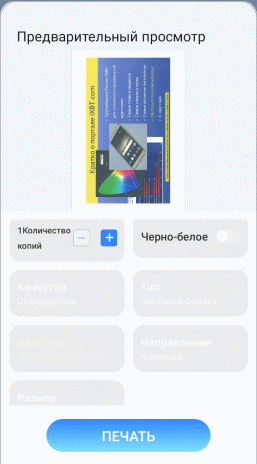
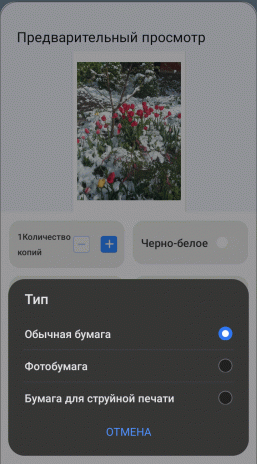
For documents, you can set the number of copies and the color mode. There are also additional settings that appear after clicking «More options». Although their names are written in white, which may give the impression that they are not available, in fact, they are usable.
Additionally, you can select one of three quality grades and one of two paper types, set the range of pages to print (only for multi-page documents, in the format «from… to ...», not «1-3, 5, 8»), and set the orientation (called «Direction») and sheet size.
For photos, a third type of media is added — photo paper, for which borderless printing is also available.
That is, all the basic settings that we saw in the Windows driver are available.
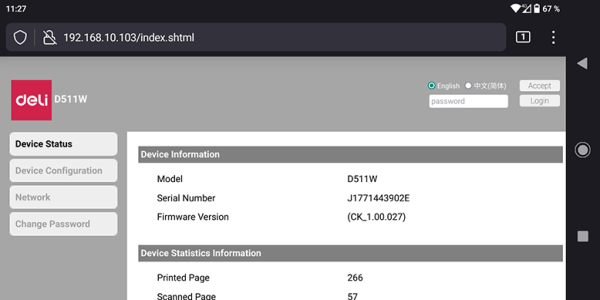
You can also access the web interface from a smartphone.
In addition, support for Mopria has been announced (in fact, it is the basis for the printing service used by default in modern versions of Android), as well as AirPrint for Apple devices.

