
The drip coffee maker is a classic that never loses its relevance. Fans of “big mugs” appreciate these devices for their ease of use and consistent drink quality. Moreover, the resulting coffee can be enjoyed for a long time without worrying about a possible coffee overdose.
Our authors are not afraid of such volumes: they calmly consume up to 70-100 grams of coffee beans daily. So we are ready to start testing the new model of the Redmond CM704 drip coffee maker with advanced features such as delayed start and heating temperature settings.
Characteristics
| Manufacturer | Redmond |
|---|---|
| Model | CM704 |
| Type | drip coffee maker |
| Country of Origin | China |
| Guarantee | 1 year |
| Life time * | 3 years |
| Power | 1000 W |
| Housing material | plastic |
| Case color | black, metallic |
| Jug material | glass |
| Jug volume | 1.8 l |
| Control | electronic |
| Indicators | led display |
| Weight | 2.45 kg |
| Dimensions (W×H×D) | 200×340×200 mm |
| Network cable length | 0.8 m |
* Contrary to popular belief, this is not the time limit after which the device will necessarily break down. However, after this period, the manufacturer ceases to bear any responsibility for its performance and has the right to refuse to repair it, even for a fee.
Equipment
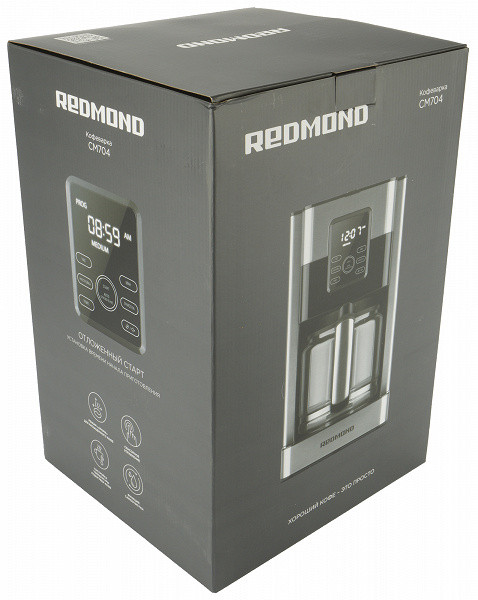
The coffee maker comes in an elegant Redmond style cardboard box. The packaging is made in a strict design, characteristic of this brand. The main color of the box is gray, which gives it a serious look. The front of the box features an attractive photo of the coffee maker. The sides of the box contain information about the model and technical specifications.
The contents of the box were protected from shock using pressed cardboard inserts and plastic bags
Having opened the box, inside we found:
- the coffee maker itself with a jug
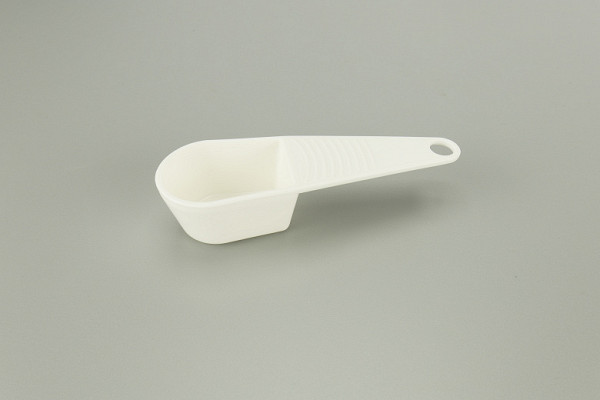
- measuring spoon
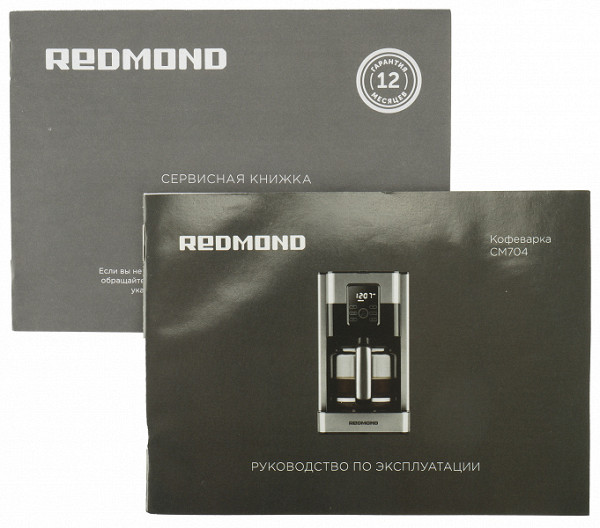
- instructions and warranty card
At first sight
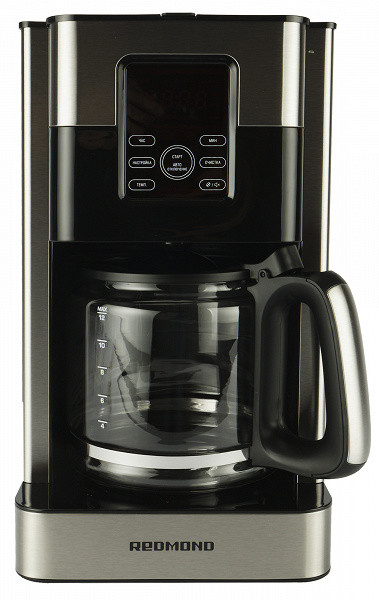
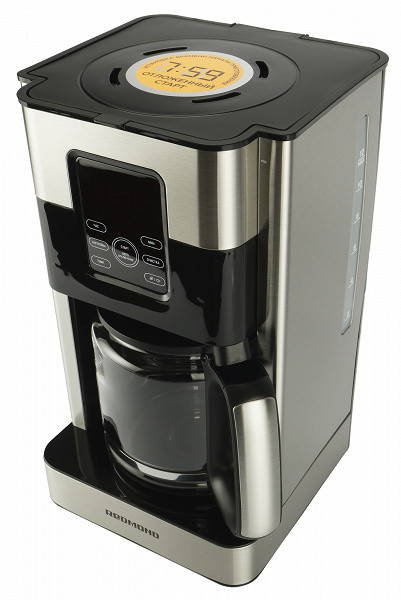
The design of our coffee maker turned out to be quite standard. If you do not immediately pay attention to the unusual control panel, then we see a typical, classic solution, made in a strict parallelepiped housing.
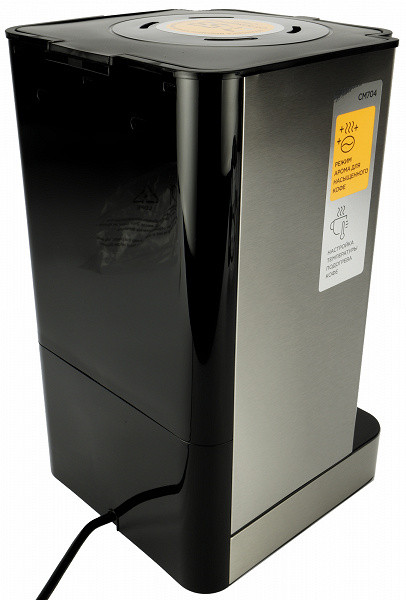
When unpacking, the coffee maker gives the impression of a device from the middle price segment, which is what it represents. The body of the coffee maker is made of plastic, the side panels are decorated with metal plates. The assembly is decent, there are no obvious defects. Small plastic parts can be seen inside, but they do not attract attention unless you specifically look for them.
This coffee maker model uses matte black plastic for the lid and top, as well as glossy black plastic for all other plastic elements, including the jug installation area. One can argue about the justification of this decision: glossy plastic is prone to scratches, especially when using a jug. However, the manufacturer knows better...
Upon closer inspection of the coffee maker, the overall device looks standard: it is a classic drip coffee maker with all the characteristic elements for this type of device. The main differences of this model are related, rather, to the control panel and related functions.
On the front metal panel at the bottom of the device is the company logo. At the top center is a black and white display with touch buttons.

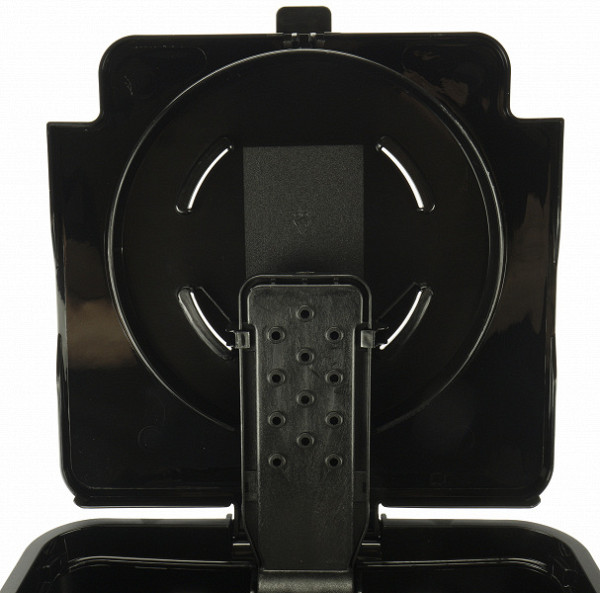
The coffee maker does not have a separate mechanical power button. The entire top edge is a hinged lid with steam holes.
The lid opens and closes easily, with a slight click. In the open position, it may have a slight play, which does not affect operation, but may create a feeling of some unreliability of the structure.
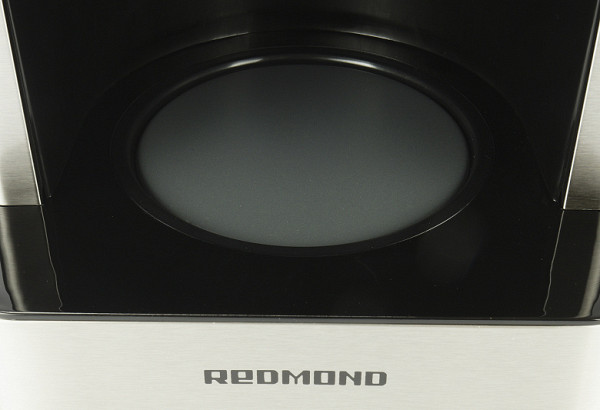
Now let's turn our attention to the “shower” through which hot water will be supplied. In our coffee maker it is a set of 12 holes arranged in a rectangular shape. We hope that this will not affect the uniform wetting of the coffee powder in the filter.
Opening the lid, we find a fairly spacious tank with a volume of 1.8 liters. You can monitor the water level in it through a window located on the right side of the device, where there is a scale from 2 to 12 cups. Simply by counting, you can determine that one cup here is equal to 150 ml of water.
One cannot help but notice the lack of a uniform standard in the world of drip coffee makers. We recently tested the Redmond CM700 coffee maker with a 1.2-liter jug, also capable of holding 12 cups. Obviously, the volume of the “cups” may differ in different models.
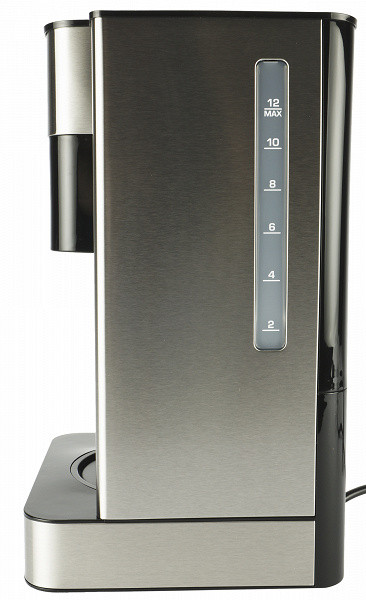
There is no window on the left side to control the filling of the tank, so it is better to place the coffee maker in the kitchen so that its right side is visible.
The brewing tank itself consists of three parts: a plastic body into which a plastic cone with an anti-drip release system is inserted, and inside the cone either a reusable nylon filter with a handle (supplied) or a disposable paper filter is installed.
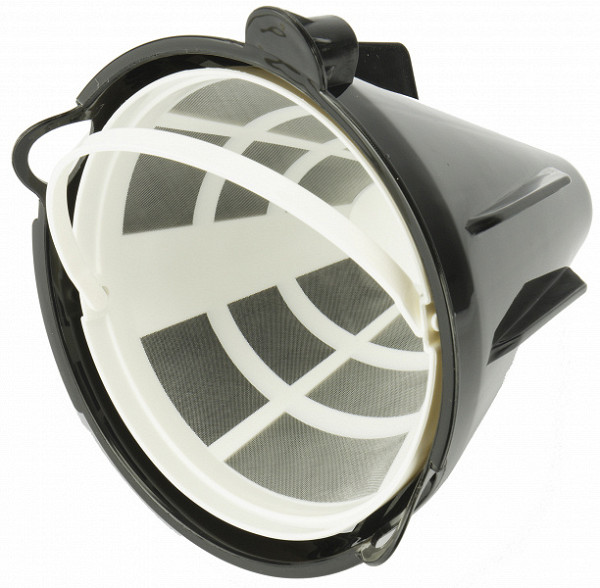
The filter holder has small handles that make it easy to remove even if it is filled with hot coffee. In addition, a small protrusion helps to correctly install the holder: just align the protruding part (miniature handle) with the corresponding recess on the body.
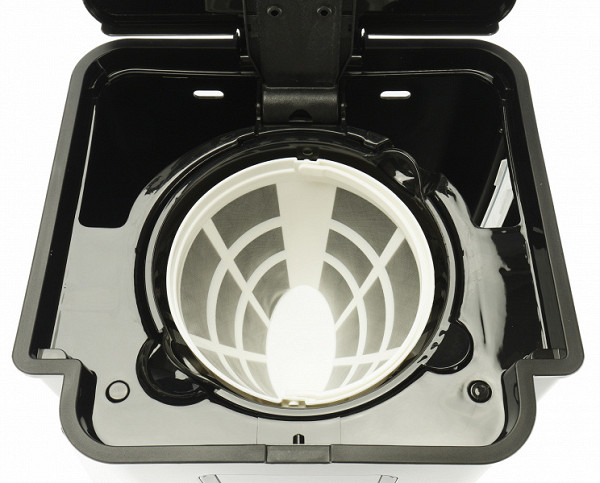
The anti-drip system of our device is classic. This is a spring-loaded tap that shuts off the coffee flow when the user removes the jug.
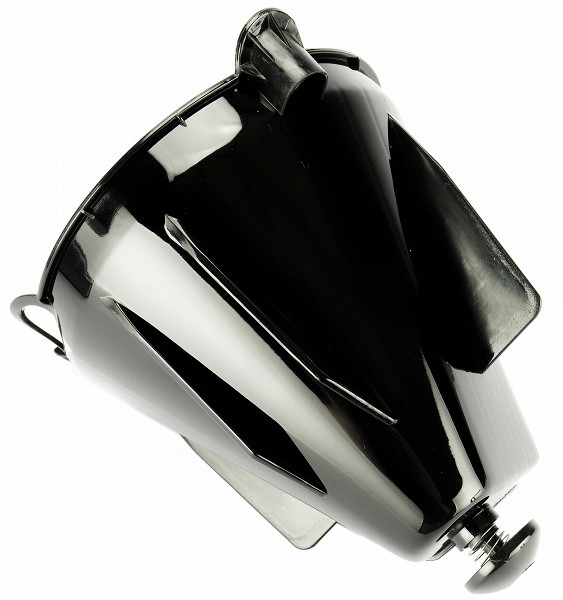
All parts that come into contact with the coffee are easily detached from the body of the coffee maker; simply pull them up. This greatly simplifies the maintenance of the device: the dirtiest part can simply be washed under running water.
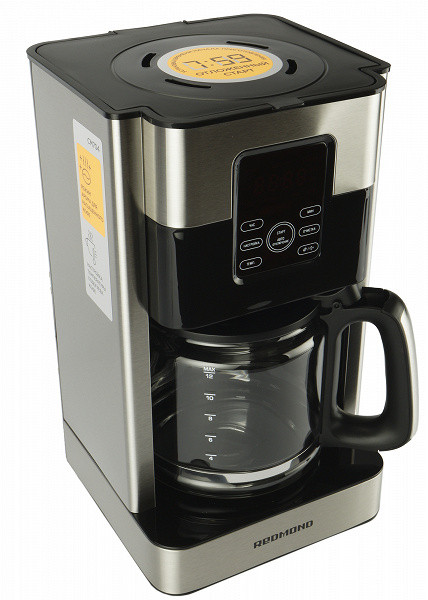
The jug of our coffee maker is made of heat-resistant glass, and its hinged lid and handle are made of plastic. The jug also has cup graduations (from 4 to 12).
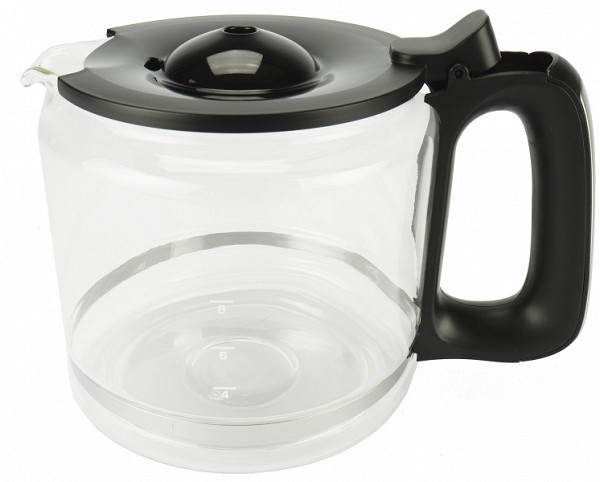
Coffee is served through a central hole located at the top of the curved hemisphere. If the drops fall by, it’s okay — there is a second hole in the recess so that the drink ends up inside the jug. The plastic cover opens easily, just press the lever, which is located exactly under your thumb.
Having completed the inspection of the coffee maker, let’s pay attention to the details:
At the bottom of the device there are rubber feet and a sticker with technical information about the model. There is no cord storage compartment.
The jug is installed on a metal platform, which will maintain the temperature of the finished drink after preparation.

The strategically placed jug is almost completely submerged inside the body of the coffee maker. This means that it will be quite difficult to accidentally touch the jug, for example by its handle, and drop it. It's important to remember that a broken carafe often leads to the purchase of a new coffee maker, as finding a replacement can be difficult.
Under the jug there is a panel for heating the finished drink.
Included with the coffee maker, we also found a plastic measuring spoon with which you can measure the desired amount of coffee.
The first impression of the device is positive: it looks attractive and well thought out. Now all that remains is to check how convenient the controls are, test it in practice and draw final conclusions.
Instructions
The User's Guide is a compact black and white booklet printed on high quality matte paper. It contains instructions in several languages, including Russian.
All the necessary information takes up only five pages (plus the standard sections on operational safety and warranty obligations, which, as we know, are rarely read by anyone). There are no special secrets or tips here. It is assumed that every coffee lover will figure out for himself what grind and how much coffee should be added. But it’s better to study the control instructions before turning it on for the first time. There are some subtleties here.
Control
Most drip coffee makers have one control element — a button with an indicator that starts the brewing process. Our model does not have such a button, but there are as many as seven touch buttons and an LED display. Let's look at what opportunities they provide.
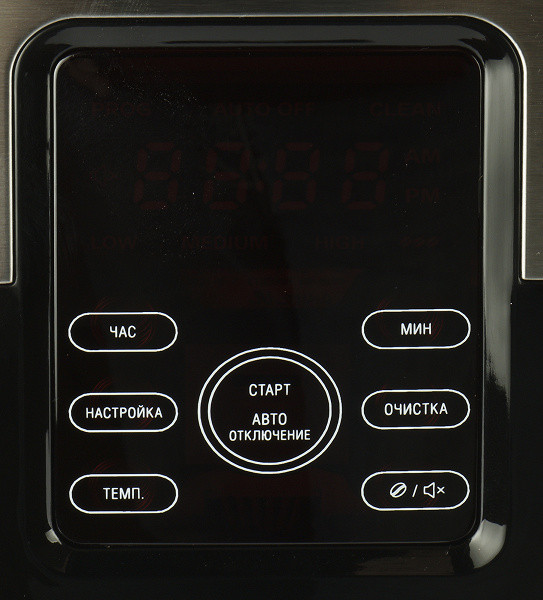
After connecting the coffee maker to the power supply, it is recommended to immediately set the exact time using the “Hour” and “Min” buttons. The time is set in 12 hour format and will be displayed on the screen continuously.
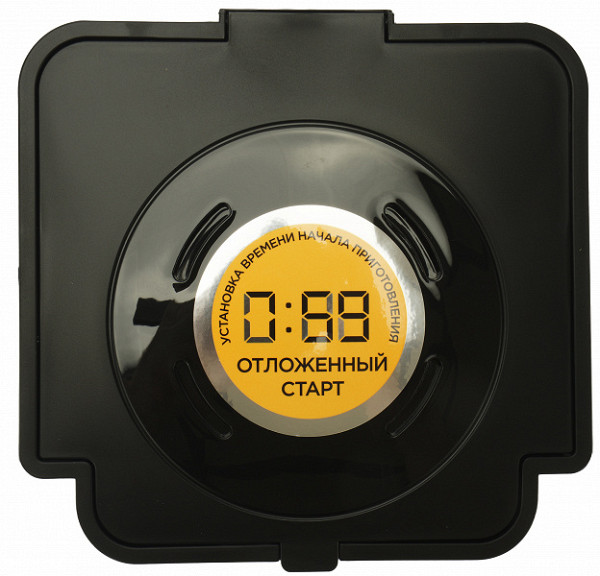
One of the key features that the developers are proud of is the delayed start function. After pressing the “set” button, the “prog” indicator will begin to flash, and the user will be able to set the time when the preparation of the drink will begin. So, for example, if we want to get coffee by 7 am, then we need to set the timer to approximately 6:50.
In addition, using the “tempo” button, you can select the desired temperature for heating the finished drink — 70, 75 or 80 degrees, which corresponds to the Low, Medium and High indicators. The heating duration is also adjustable and is available in the range from 30 minutes to 4 hours. But it is worth considering that these settings can only be changed before preparing a drink or in standby mode.
The third interesting feature is the “Aroma” mode, which increases the time the water is poured, which affects the taste of the finished drink, increasing its richness, as the developers promise.
The «clean» button starts a self-cleaning mode consisting of several cycles to keep the coffee maker clean. Button presses are accompanied by beeps, which can be turned off if they seem inappropriate.
Exploitation
Before first use, it is recommended to rinse the coffee maker with as much water as possible, without using a filter or ground coffee.
After this, you can start preparing the drink. To do this you need:
- Make sure that the coffee maker is connected to the mains.
- Fill the water reservoir with the required amount of cold water using a glass coffee pot or other container.
- Install a disposable paper or reusable filter and add the required amount of coffee, preferably distributing it evenly.
- Place the glass coffee pot with the lid closed in the coffee maker.
- Turn on the coffee maker and wait for the drink to finish preparing.
All these actions are carried out easily and simply. The lid closes securely, excess steam escapes through special holes, and water is supplied in a uniform flow. However, it is worth noting that the “shower” design assumes that the main part of the water will be supplied in the center of the filter, and only in small portions on the sides.
Care
Regular external cleaning of the coffee maker involves wiping the cabinet with a soft, damp cloth. The glass coffee pot with lid, plastic filter and funnel in which it is placed can be washed using mild detergents.
It is recommended to use special products to remove scale, and after completing the cleaning procedure, run clean water through the coffee maker several times.
Our measurements
We measured the main parameters that determine the operation of the coffee maker.
First of all, we studied the energy consumption and temperature at various stages of coffee preparation.
So, in coffee preparation mode, the coffee maker consumes up to 925 W, which corresponds to the declared power (1000 W).
To prepare a standard serving of coffee (a full jug), the coffee maker uses approximately 0.18 kWh and uses water in just over 14 minutes.
Please note that our measurements may have a certain error. For example, to measure the temperature of the water supply, we used an external thermometer placed in the working chamber with the lid ajar.
When it comes to recommendations for making the perfect drip coffee, it is important to follow certain proportions. Various sources recommend a water to coffee ratio of between 15 and 18. Based on this, we calculated that our coffee maker, which holds 1800ml of water, would require between 108 and 120g of ground coffee.
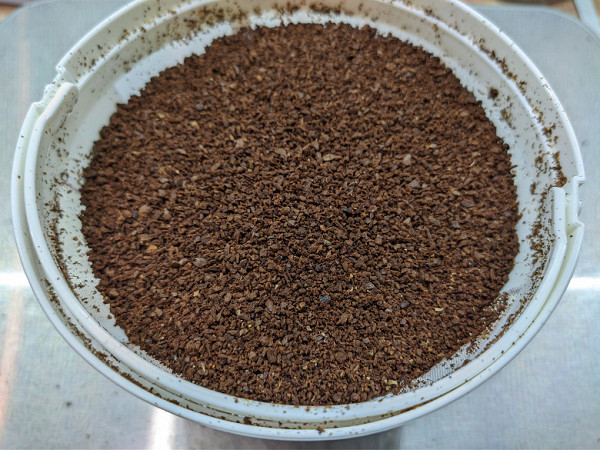
The grind for a drip coffee maker should be coarse. It is also recommended to pour a small amount of hot water through a paper filter before starting cooking to remove any possible paper taste.
Regarding the water temperature, it should reach 92-96 °C within a minute and not rise above 96 °C throughout the entire cooking process. We took measurements and found that the temperature of the water in the jug was between 93-94 °C.
The coffee jug should maintain the temperature of the drink at 80–85 °C. We also tested this setting and found that the coffee maker maintains the temperature as required.
Thus, the measurements showed that the coffee maker works efficiently and meets the standards for preparing drip coffee.
Practice tests
Full jug (1.8 l)
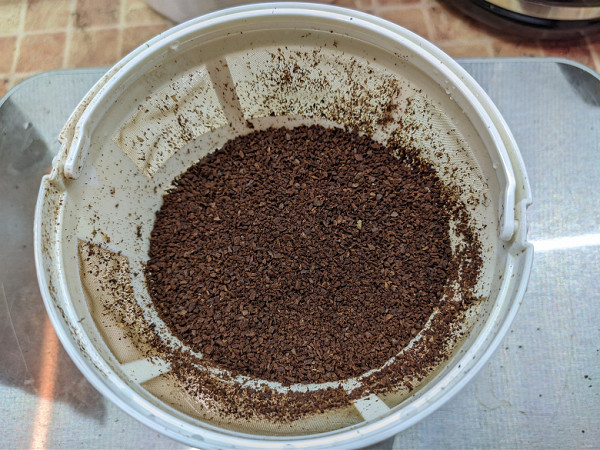
Before we started making coffee, we decided to evaluate what a full serving of filter coffee would look like. According to the recommendation to use 60 g of coffee per liter of water, we selected a portion of 120 g of coffee for a volume of 1.8 liters. We then selected the appropriate grind and ground the beans freshly roasted.
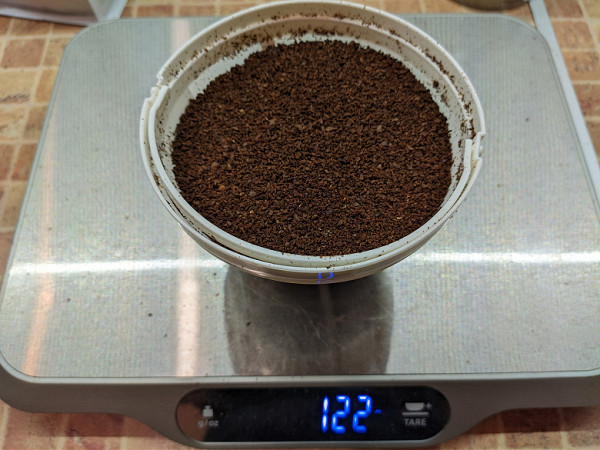
Note that the filter was almost completely filled. If you pour more, during the brewing process the coffee will inevitably swell and overflow.
We started brewing by starting up the coffee maker.
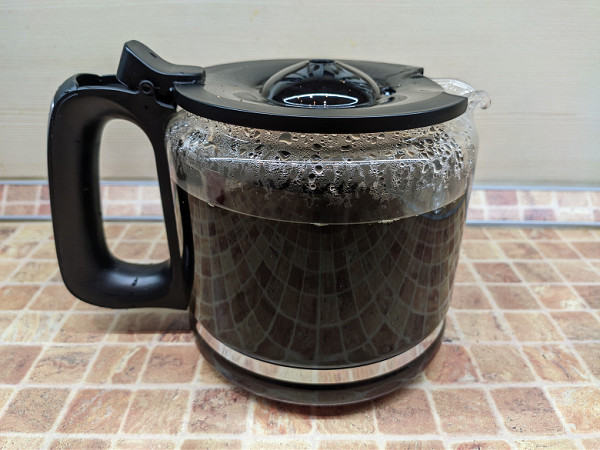
The first drops of coffee entered the jug after about a minute and a half, and the full pour of water was completed 14 minutes and 16 seconds after the start of brewing. A little more drink remained inside the filter and flowed out in single drops. The coffee maker switched to warm mode 14 minutes and 40 seconds after the start of brewing.
Analyzing the process, we can note that the cooking time clearly exceeds the recommended one. This certainly affected the taste of the finished drink: the coffee turned out to be a little more bitter than we expected. The bitterness overshadowed the subtle notes inherent in our coffee beans. The result could have been noticeably better.
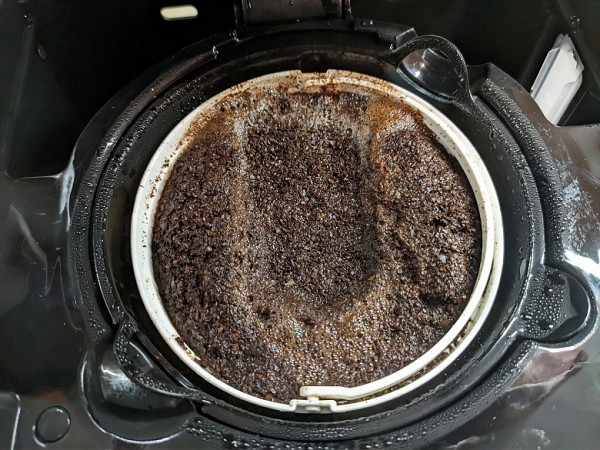
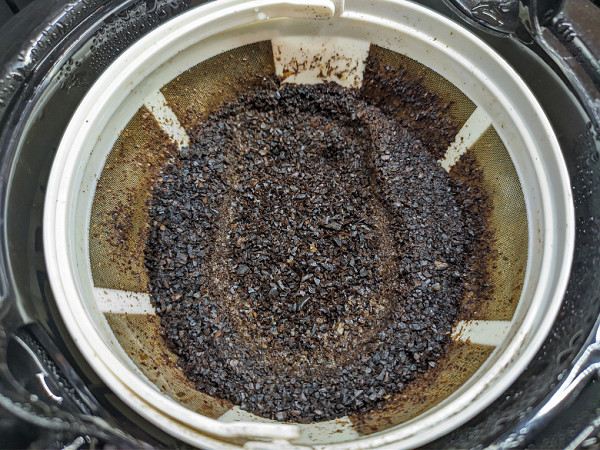
What did we see when we opened the lid? The filter was almost full. Some of the water, as we see, flowed over the edge, past the grains.
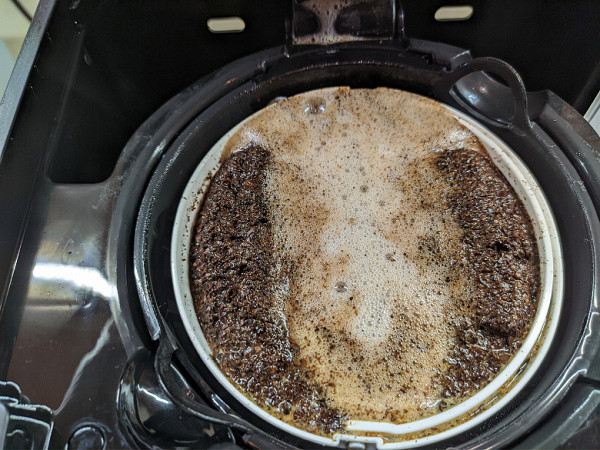
After all the water was used, we discovered one characteristic feature of the water supply system.
Unfortunately, a miracle did not happen: we see a clear trace on the spent coffee. This is where the hot water comes in. The remaining zones receive slightly cooled water, which does not have the best effect on the quality of brewing.
Overall, despite the shortcomings we found, we rate the final result somewhere between “average” and “good.” After all, our coffee maker still has good temperature settings, which slightly compensates for the identified problems.
Experienced users will probably notice that the situation can be corrected by slightly reducing the portion of coffee — and in this they will be absolutely right.
Result: average/good
Liter of coffee
Let's try brewing one liter of coffee to once again check our measurements against the recommended standards.
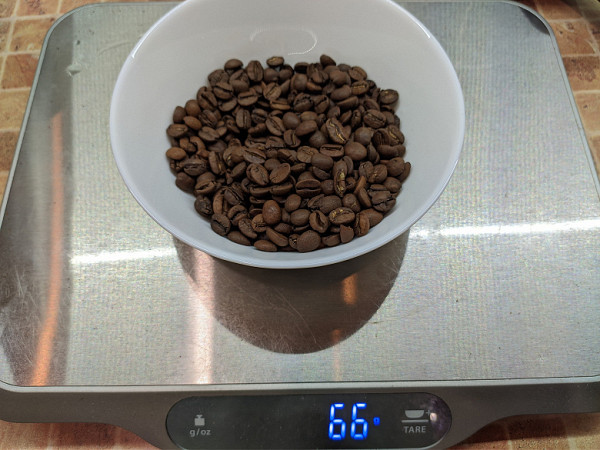
We added 66 grams of coffee, started the coffee maker and noted the time.
This time there was enough free space in the filter for comfortable brewing.
The start of preparing the drink was exactly the same, but this time the characteristic gurgling sound that is heard when the water in the tank runs out was heard after 6 minutes and 40 seconds, and the entire preparation process was completed after 7 minutes and 38 seconds. That is, the actual cooking time (from the moment the first drops of water hit the ground grains) was about 6 minutes. We are more than satisfied with this result. Moreover, we can always adjust it by slightly changing the grind.
The energy consumption was 0.12 kWh, and the temperature of the finished drink was again approximately 87 °C. We note a slight overheating, but otherwise the result is very, very good.
Open the lid and look inside.
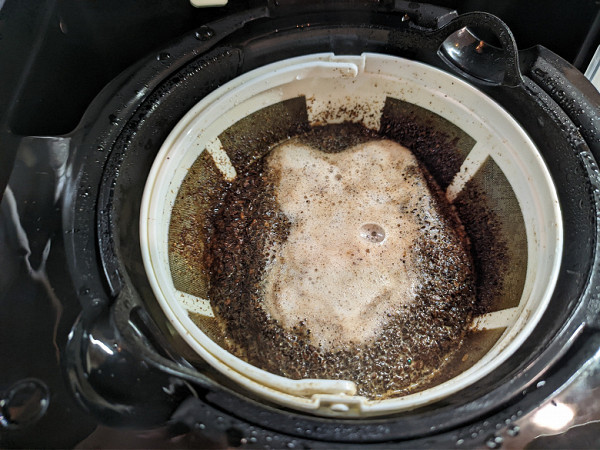
After the rest of the water came out, we see the same picture: the main spill was carried out in the center, and on the sides — according to the residual principle. Let's face it, it's not very good.
What about the taste of the drink? Repeated tasting confirmed our assumptions: if you don’t reach for a full coffee pot, the drink tastes very good. This time the unpleasant bitterness was gone, and in the coffee it was finally possible to discern the taste descriptors characteristic of our beans — roasted nuts, cookies, nougat.

Our final conclusion: Despite the shortcomings in the design of the hot water system, this coffee maker is great for use both at home and in a small office. It can give coffee an interesting and rich taste, although not without some limitations. However, we can always adjust the taste by changing the number of coffee beans and grinding degree.
Result: good
Aroma mode
Having checked the Aroma mode, which changes the water supply speed and brewing duration, we found that when preparing a standard portion of coffee (1 liter), the total brewing time increased by almost one and a half times — from 7 minutes and 40 seconds to 11 minutes. For preparing one liter or a full jug, this mode will probably not be very convenient. However, if we need to prepare a small amount of drink, this function can be useful: we can experiment with different modes to achieve the desired taste. This is especially valuable if we do not have a coffee grinder, but have pre-ground grain. Thus, we will be able to influence the taste of the drink by changing only the serving size and using the Aroma function.
Result: good
conclusions
The Redmond CM704 drip coffee maker has proven itself to be a decent device capable of making good quality coffee. However, for optimal use, at least a basic understanding of the drip coffee brewing process is required. While the results may be slightly less satisfying when brewing a full jug, the coffee maker performed well when brewing medium-sized portions (around 1 liter), making it a useful device for making coffee at home.

It's a pity that one of the key features of this model — adjusting the temperature of the finished drink — turned out to be less flexible than we expected. The suggested range of 70 to 80 °C does not always suit our preferences, forcing us to set the maximum temperature and not change it. Perhaps for some, cooler coffee will be preferable, but for us this means that we will only have to stick to the maximum setting, which is not always convenient.
Among the significant shortcomings, one can highlight the not very successful design of the “shower” that supplies hot water: the bulk of the water is concentrated in the center of the filter, while the coffee around the edges is brewed less evenly. This can negatively affect the taste of the drink, especially if large quantities of ground coffee are used. Therefore, we recommend not to overload the filter with ground beans and prefer to prepare coffee half a mug at a time to get a better quality drink.
Pros:
- stylish design
- adequate pour time for medium portions
- stable temperature
- delayed start and adjustable heating
Minuses:
- not the best form of «shower» supplying water